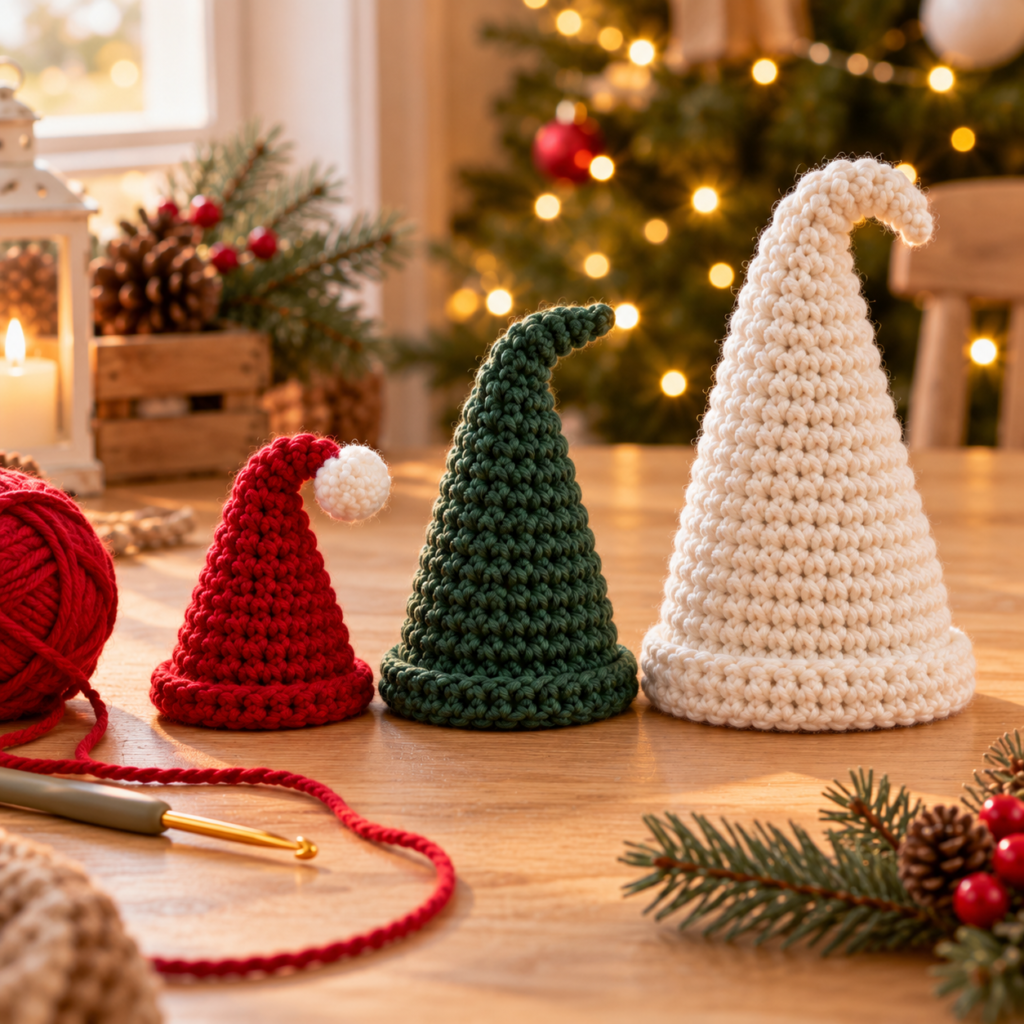
The hat is what makes a gnome a gnome. Get the cone right and even the simplest body looks adorable. This crochet gnome hat pattern free tutorial shows you how to crochet a pointy gnome hat in any size – from a tiny tree ornament to a big toilet paper cover – using one easy rule you can remember forever.
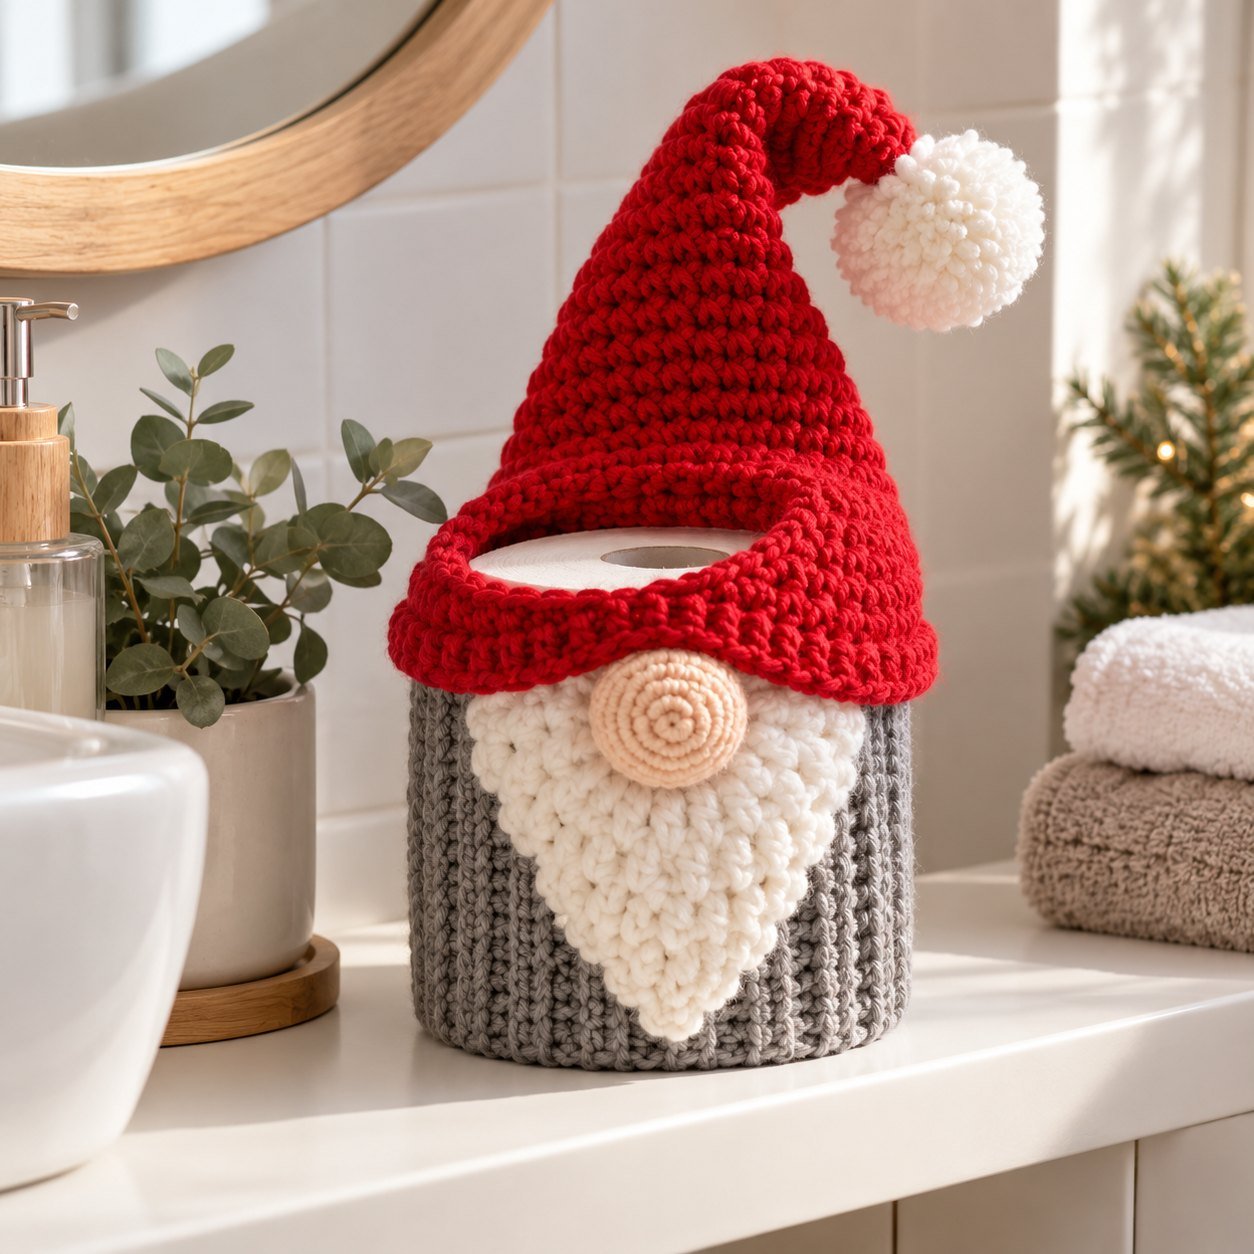
💡 When your hat is done, you’ll find our Christmas gnome toilet paper cover pattern near the end – it uses this exact hat technique.
In this tutorial
What You Need
- Worsted weight (#4) acrylic or cotton yarn in red, green or cream (about 15 g for the mini size)
- 3.5 mm (E-4) crochet hook
- Stitch marker
- Tapestry needle and scissors
- Optional: a small pom-pom or a jingle bell for the tip
Abbreviations (US terms): MR = magic ring, sc = single crochet, inc = 2 sc in the same stitch, FLO = front loop only, sl st = slip stitch, (…) = repeat.
The Simple Math Behind Every Gnome Hat
A gnome hat is just a cone. A cone grows slowly and evenly, so the rule is: start with 4 stitches and only increase every other round – 2 stitches at a time near the tip, then 4 at a time. The plain rounds in between make the hat tall and pointy instead of flat like a coaster.
Stop increasing when the opening matches the widest round of your gnome body. If your body’s widest round has 24 stitches, stop at 24. That is the whole secret – it works for every crochet gnome hat, whatever pattern you use for the body.
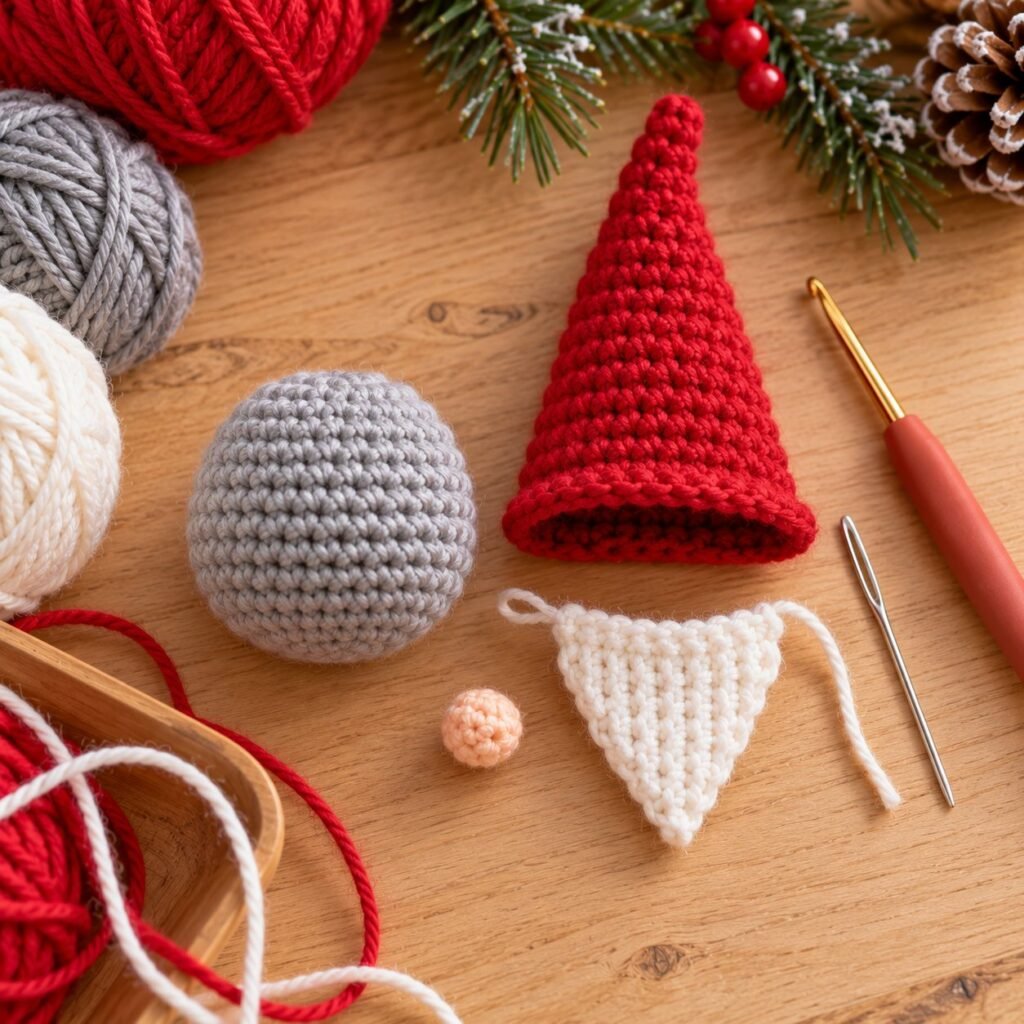
Free Gnome Hat Pattern (Mini Ornament Size)
Work in continuous rounds; move your stitch marker up every round.
Round 1: MR, 4 sc in the ring. (4)
Round 2: sc around. (4)
Round 3: (sc, inc) ×2. (6)
Round 4: sc around. (6)
Round 5: (2 sc, inc) ×2. (8)
Round 6: sc around. (8)
Round 7: (sc, inc) ×4. (12)
Round 8: sc around. (12)
Round 9: (2 sc, inc) ×4. (16)
Round 10: sc around. (16)
Round 11: (3 sc, inc) ×4. (20)
Round 12: sc around. (20)
Round 13: (4 sc, inc) ×4. (24)
Rounds 14–16: sc around. (24)
Round 17 – brim: FLO (sc, inc) ×12 for a little turned-up brim. (36) Sl st, fasten off and leave a long tail for sewing.
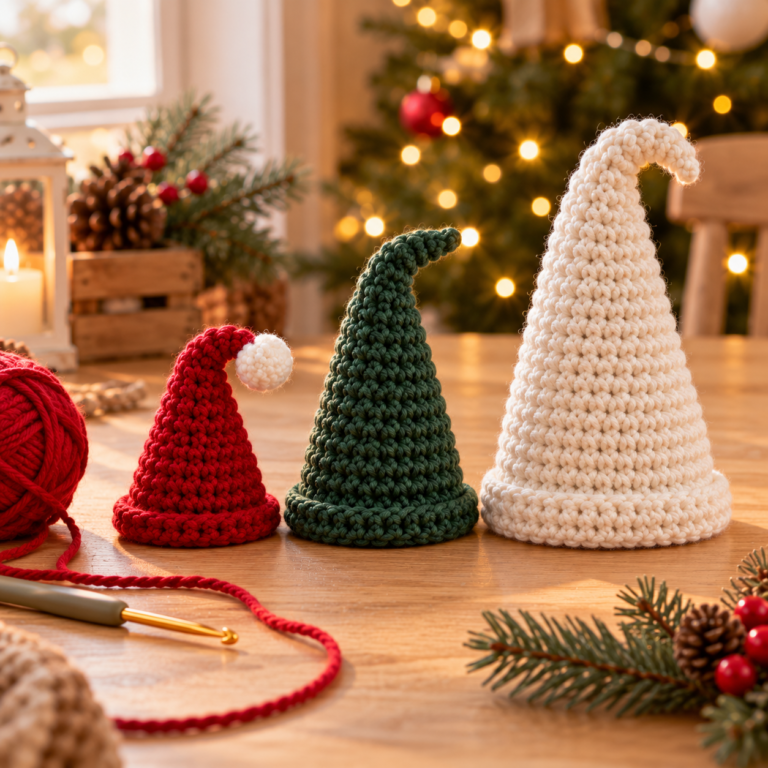
Your mini hat is about 3 in / 7.5 cm tall and fits a 24-stitch gnome body – perfect for a crochet gnome ornament.
Free printable version
Prefer paper? Download this free tutorial as a printable PDF to keep next to your yarn.
Loved making this?
Your little hat is done – now picture it on a whole gnome. Our Christmas Gnome Toilet Paper Cover pattern uses this same cone technique to make a big, cheerful gnome that hides the spare roll and makes every guest smile. Every round is written out, step by step.
Yes, I want to make it – $2Instant PDF download · stitch counts on every round · US terms
Make It Bigger: 3 Gnome Hat Sizes
Keep adding 4 stitches on every other round – (5 sc, inc) ×4, then (6 sc, inc) ×4, and so on – until you reach the size you need. Then work plain rounds until the hat is as tall as you like.
| Gnome | Stop increasing at | Plain rounds after | Hat height |
|---|---|---|---|
| Mini ornament (3 in) | 24 sts | 3 | 3 in / 7.5 cm |
| Standing gnome (6–8 in) | 36 sts | 6 | 5 in / 13 cm |
| Toilet paper cover | 56 sts | 10 | 8 in / 20 cm |
For the toilet paper cover size, switch to chunky yarn and a 5 mm hook if you prefer a faster, softer hat.
How to Make a Floppy or Bent Gnome Hat
- Floppy tip: make the hat 4–6 rounds taller than the table above and don’t stuff it – it will fold over naturally.
- Bent tip that stays put: fold the top third down and tack it to the side with two small stitches.
- Wire tip: slide a pipe cleaner inside the hat and bend it into a curl. Not for young children.
- Pom-pom or bell: sew it to the very tip for a classic Nordic look.
Crochet Gnome Hat Pattern Free: Trending Ideas
Searches for a crochet gnome hat pattern free grew about 50% this year, and gnome hats are the most reused piece in every free crochet gnome pattern. Here are three quick ways to use yours:
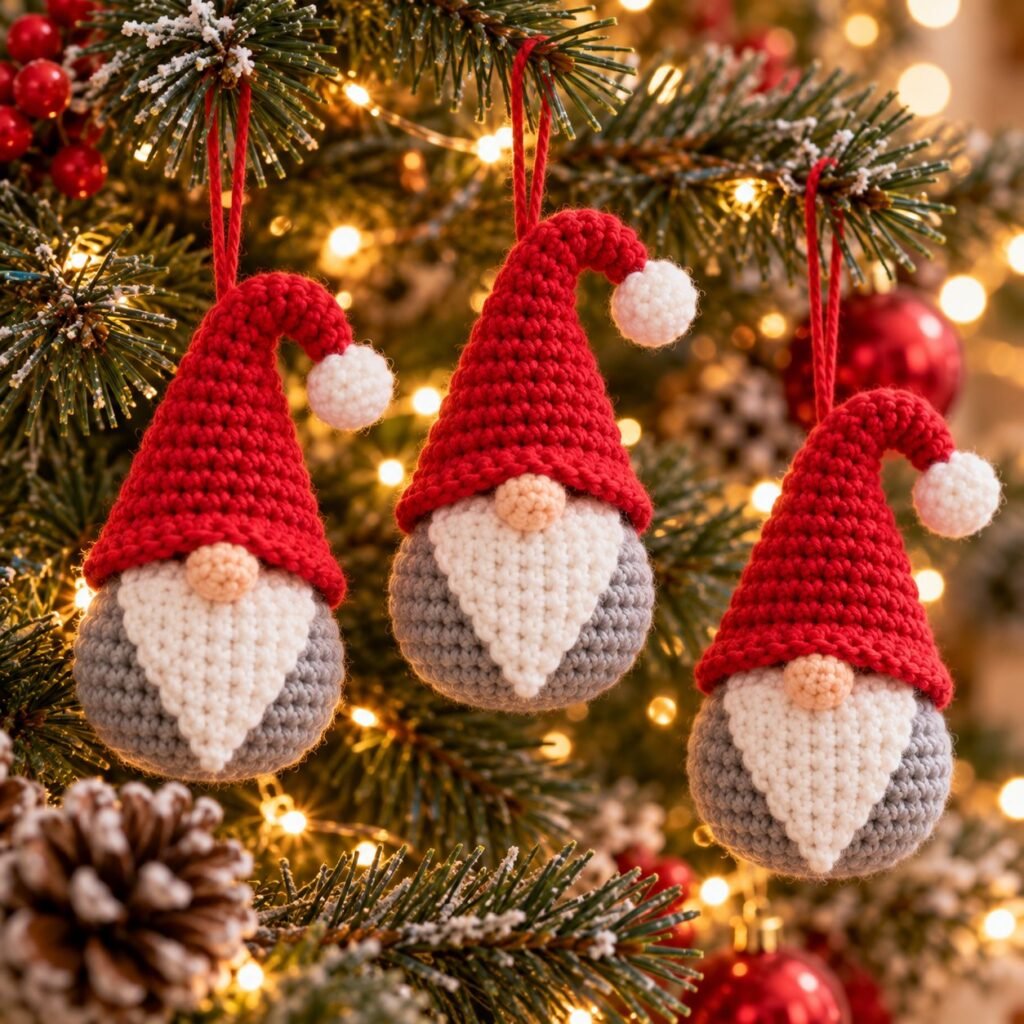
- Crochet gnome ornament: a mini hat, a fluffy beard and a wooden bead nose – done in an evening.
- Gnome hat gift toppers: make mini hats in red and green and tie them onto presents.
- Matching gnome family: one hat in every size from the table above for a mantel display.
Frequently Asked Questions
Why is my gnome hat flat instead of pointy?
You are increasing too often. Add a plain round between every increase round – that is what gives the cone its height.
Why does my hat curl or twist?
Single crochet in continuous rounds naturally leans a little. Keep your tension even and block the hat with steam; the twist disappears once it is sewn on.
Can I use this crochet gnome hat pattern free for items I sell?
Yes – you can sell finished gnomes made with this free hat. Please link back to this page instead of sharing the pattern itself.
How do I attach the hat to the gnome?
Pin it so the brim sits just above the nose, then whip-stitch around the brim with the long tail. Add the beard last so it covers the seam.
Happy hooking! 🧶 Ready for the next step? The Christmas Gnome Toilet Paper Cover pattern turns this hat into a full gnome. Want more free gnome tutorials? Try our mini gnome ornament and the crochet gnome beard tutorial.

Leave a Reply