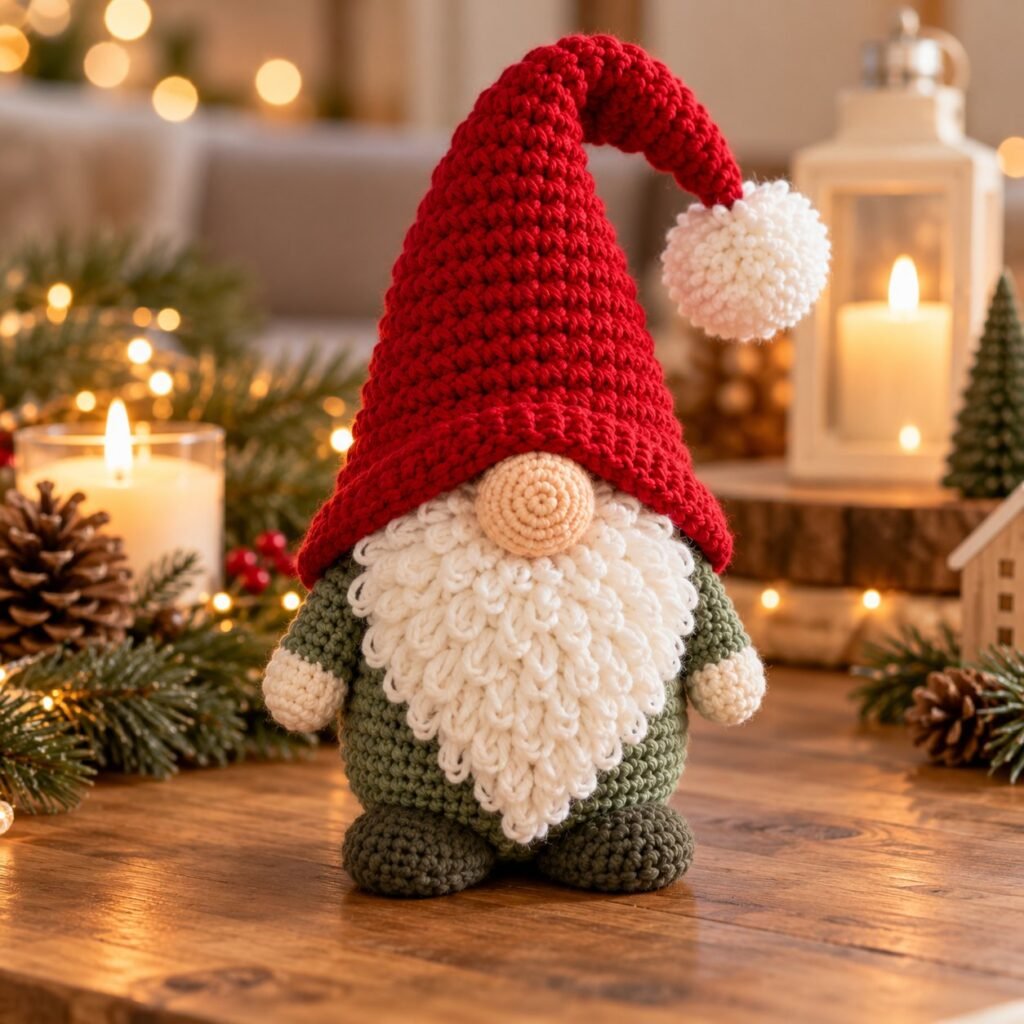
Nothing is more frustrating than a gnome that falls over. In this tutorial you’ll learn the three tricks that make any amigurumi gnome stand perfectly straight, plus a free crochet gnome beard pattern in loop stitch you can add to any gnome — fluffy, even and easy to control.
💡 Once you’ve finished this free project, you’ll find our complete standing Christmas gnome pattern at the end of the tutorial.
In this tutorial
Trick 1: The Back-Loop Base Round
When you finish the flat base of an amigurumi, work the next round in the back loop only (BLO). The unused front loops create a sharp “corner” so the base stays flat instead of rounding off. It’s a single round, but it changes everything.
Trick 2: A Stiff Insert
Before you stuff, cut a circle of thick cardboard or plastic (a lid from a yogurt pot works) the same size as the base and drop it in. It stops the bottom from bulging.
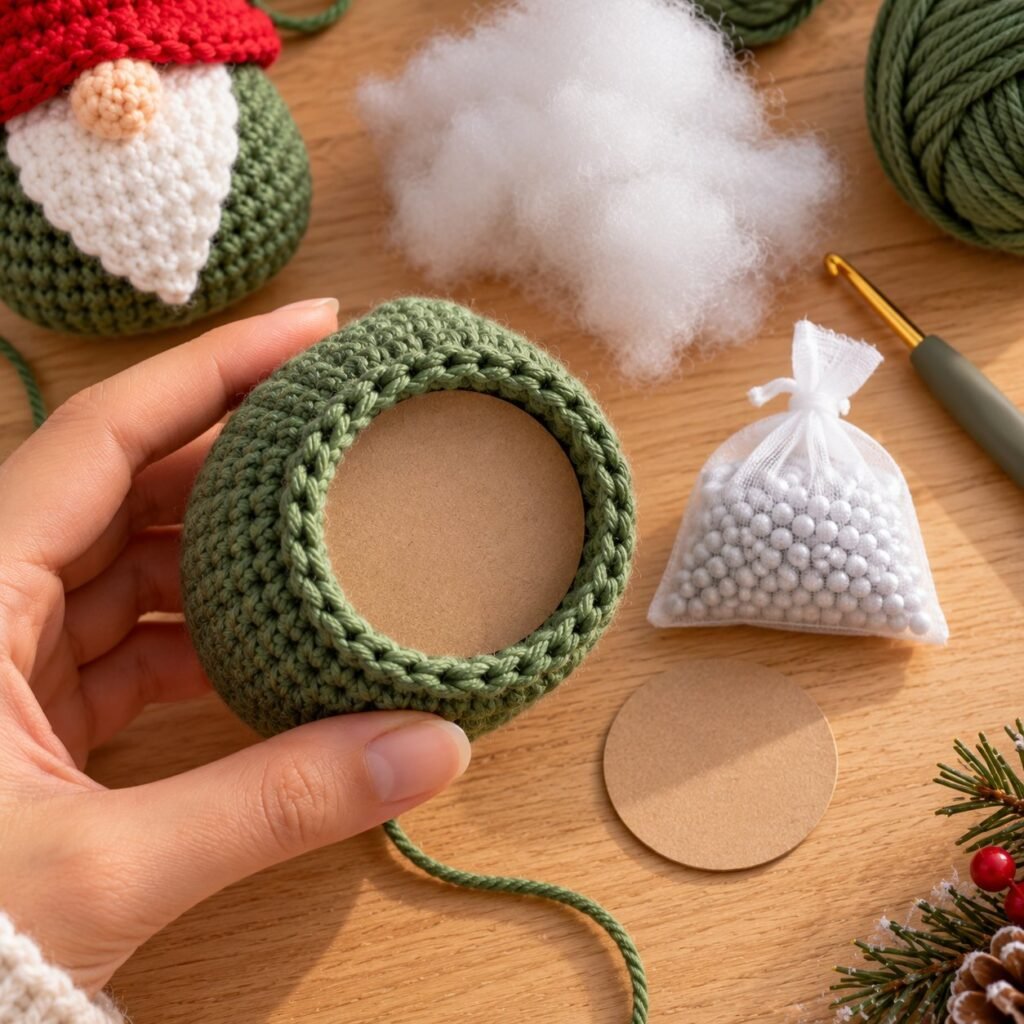
Trick 3: A Weighted Pouch
- Cut a small square of thin fabric or use the toe of an old pair of tights.
- Add a spoonful of poly pellets or clean aquarium gravel.
- Tie or sew it closed tightly.
- Place it on the base insert, then stuff the rest of the body.
Safety: always seal weights inside a pouch, and skip them for toys for small children.
Abbreviations (US terms): MR = magic ring, ch = chain, sl st = slip stitch, sc = single crochet, hdc = half double crochet, dc = double crochet, inc = 2 sc in the same stitch, dec = single crochet two together (invisible decrease recommended), BLO = back loop only. The number in brackets is the stitch count at the end of the round.
Free Pattern: Loop-Stitch Gnome Beard
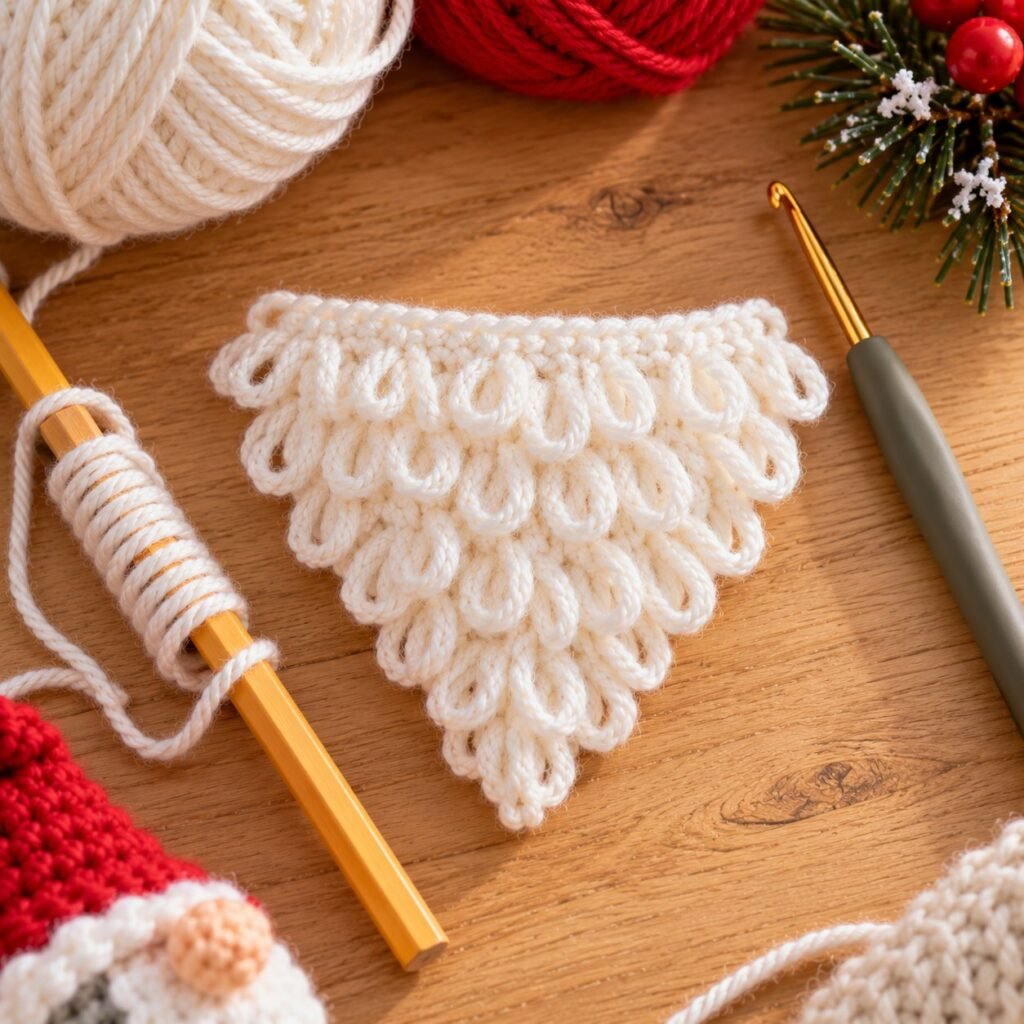
This beard fits a gnome about 6–8 inches tall in worsted yarn with a 3.5 mm hook. Loops form on the side facing away from you, so the loop rows are worked on the wrong side.
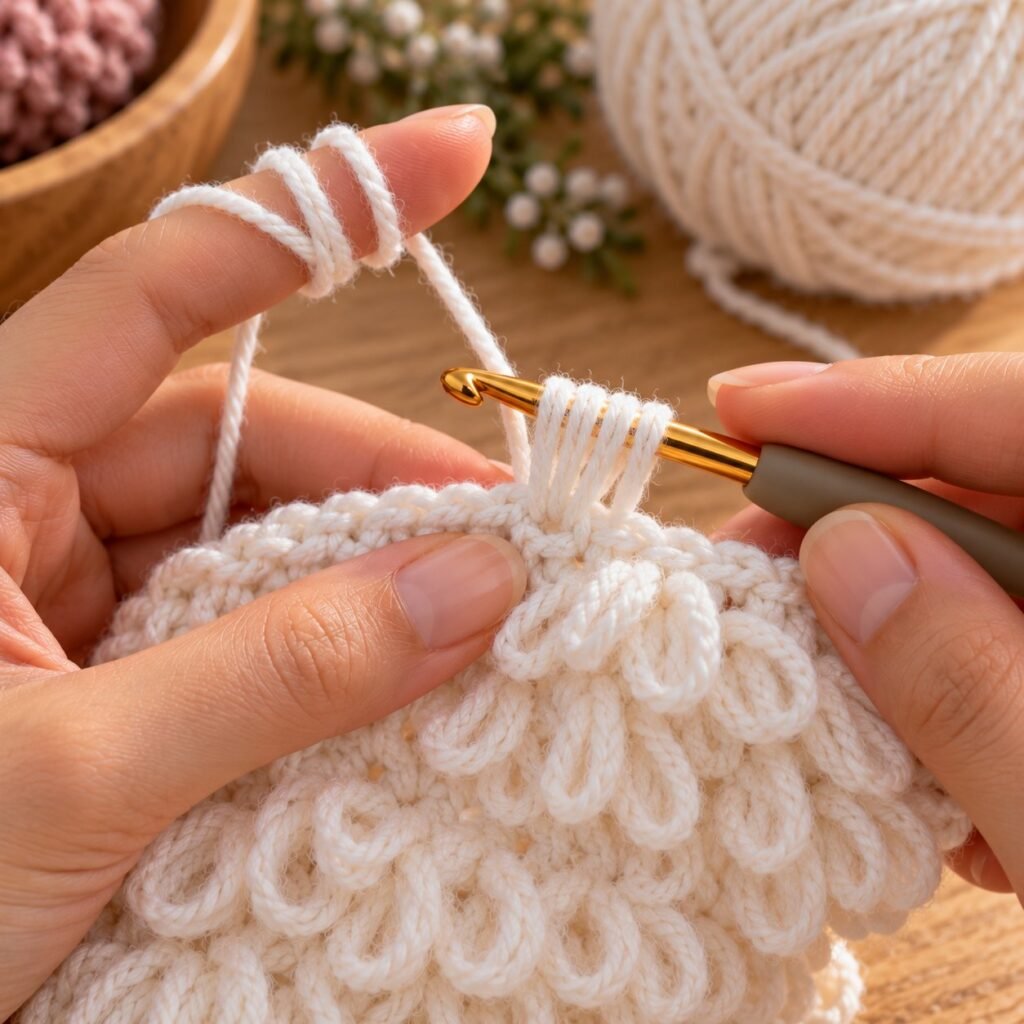
How to Make a Loop Stitch
- Insert the hook into the stitch.
- Wrap the working yarn from front to back around your index finger (or a pencil for even loops).
- Grab both strands of yarn behind your finger and pull them through the stitch (3 loops on hook).
- Yarn over and pull through all 3 loops. Slide your finger out — one loop made.
Beard Pattern
Foundation: ch 11.
Row 1 (RS): sc in the 2nd ch from the hook and in each ch across. Ch 1, turn. (10)
Row 2 (WS): loop stitch in each st across. Ch 1, turn. (10)
Row 3: dec, sc in next 6, dec. Ch 1, turn. (8)
Row 4: loop stitch across. Ch 1, turn. (8)
Row 5: dec, sc in next 4, dec. Ch 1, turn. (6)
Row 6: loop stitch across. Ch 1, turn. (6)
Row 7: dec, sc in next 2, dec. Ch 1, turn. (4)
Row 8: loop stitch across. Ch 1, turn. (4)
Row 9: dec x2. Fasten off with a long tail. (2)
Sew the straight top edge under the hat brim. Trim any uneven loops — or cut all of them for a shaggy, brushed beard.
Free printable version
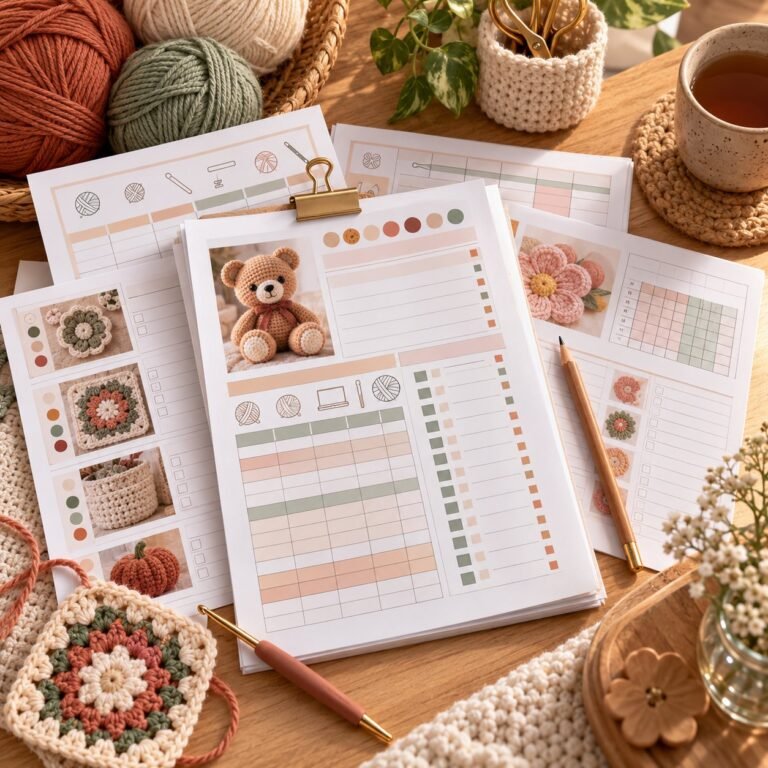
Prefer paper? Download this free tutorial as a printable PDF to keep next to your yarn.
Loved making this?
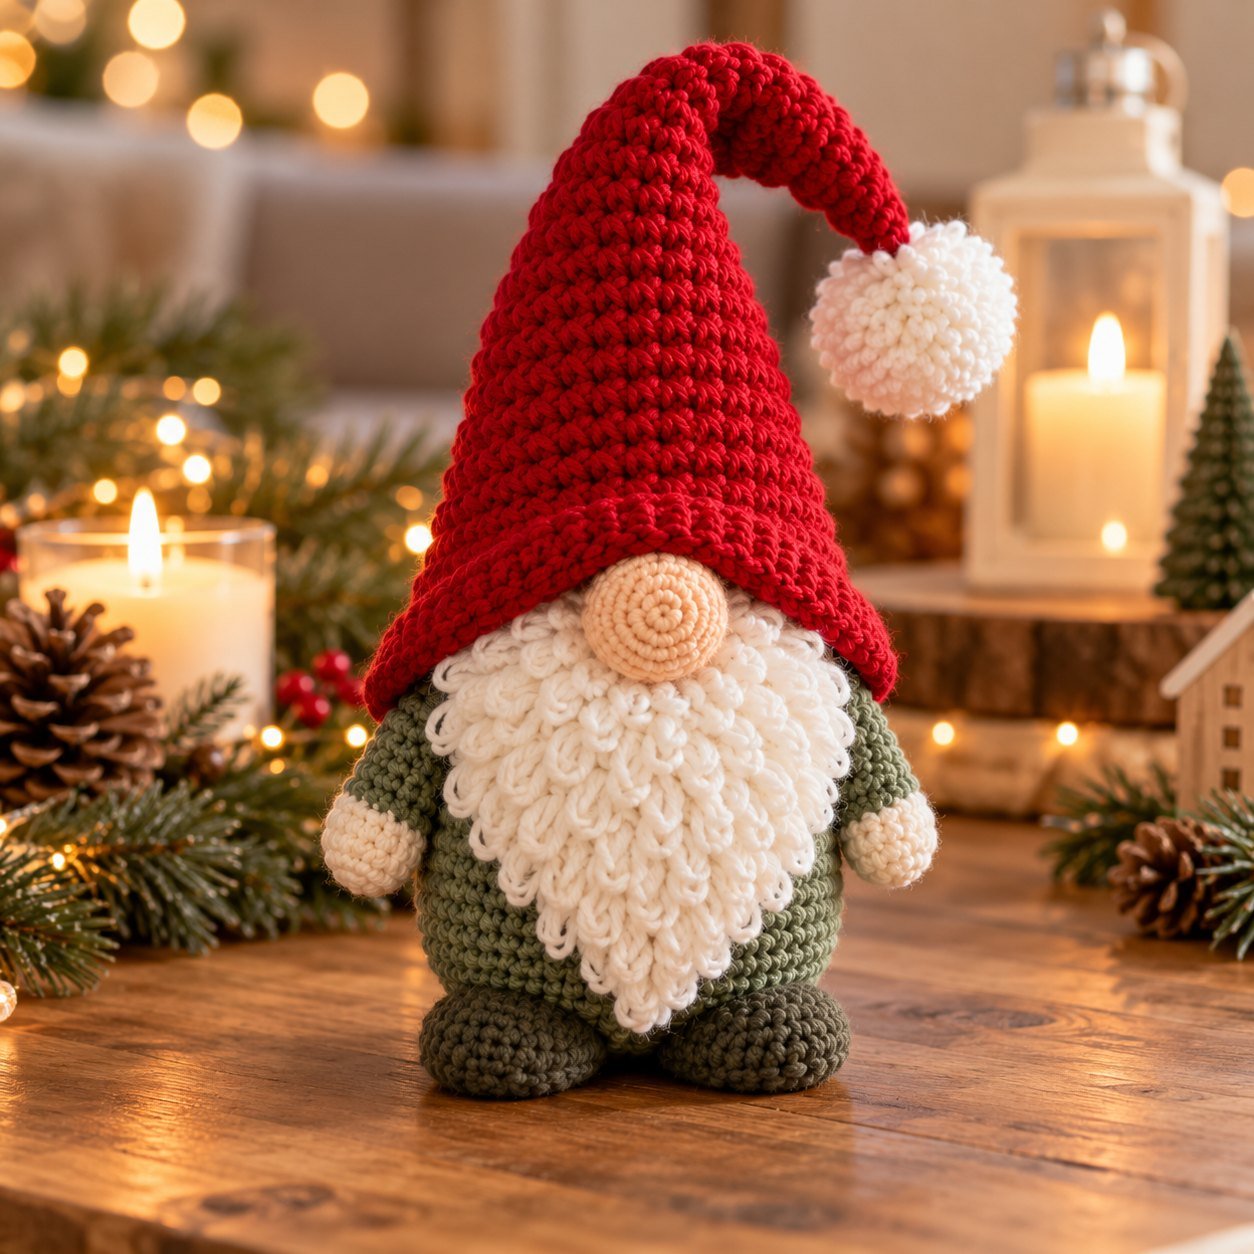
Now that your gnome can stand and has a fluffy beard, imagine making the one your family pulls out of the Christmas box every single year. Our Standing Christmas Gnome pattern guides you round by round — body, hat, beard and nose — so it turns out just like the photo.
Yes, I want to make it – $2Instant PDF download · stitch counts on every row · US terms
Shaping a Hat That Flops Just Right
- Tall and floppy: increase by 3 stitches every other round.
- Short and round: increase by 6 every round.
- Bend in one direction: fold the tip and tack it with one invisible stitch.
Styling Ideas
- Make a trio in red, green and cream hats for the mantel.
- Use sage, mustard and terracotta for a boho fall gnome.
- Add a tiny bell or pom-pom to the tip of the hat.
Frequently Asked Questions
My loops are uneven. What can I do?
Wrap them around a pencil or a chopstick instead of your finger — every loop will be the same length.
Can I use these tricks for other amigurumi?
Yes, they work for any standing toy. Learn more in our amigurumi for beginners guide and magic ring tutorial.
Also try our free mini gnome ornament.
Happy hooking! 🧶 Ready for the next step? The Standing Christmas Gnome Amigurumi pattern is just $2 — and every purchase helps us keep writing free tutorials like this one.


Leave a Reply