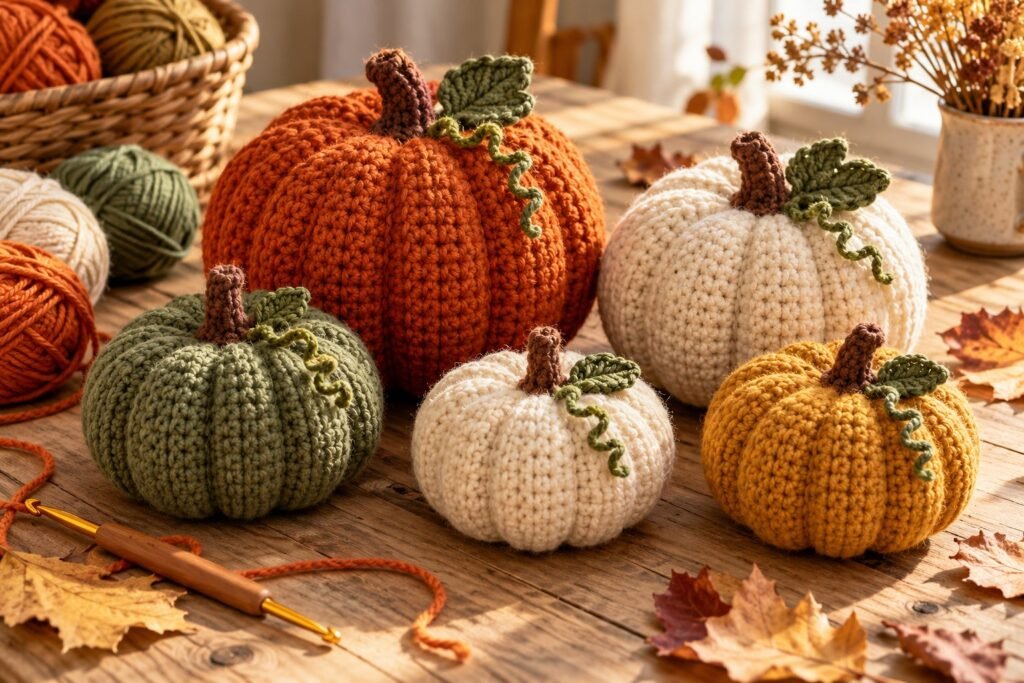
Looking for a free crochet pumpkin pattern you can finish in under an hour? You’re in the right place. Crochet pumpkins are the most-searched crochet project of the season right now — Google Trends shows searches for “crochet pumpkin pattern free” up more than 1,400% over the last three months. And it’s easy to see why: they’re quick, cheap, beginner-friendly, and they make your home look instantly cozy from October all the way to Thanksgiving.
In this guide you’ll get an easy, beginner-friendly crochet pumpkin pattern in three sizes (mini, medium and large), plus a stem and leaf, step-by-step photos, pro tips for a perfectly round shape, and fun ideas for using your pumpkins once they’re done.
Why You’ll Love This Crochet Pumpkin Pattern
- Beginner-friendly: it uses just two basic stitches — chain and half double crochet.
- Fast: a mini pumpkin takes about 20 minutes, a medium one 45–60 minutes.
- No counting in the round: you work a simple flat rectangle, then shape it. No magic ring stress!
- Great stash buster: use up leftover yarn in any fall color.
- Perfect for craft fairs: crochet pumpkins are one of the best-selling handmade fall items.
Materials You’ll Need
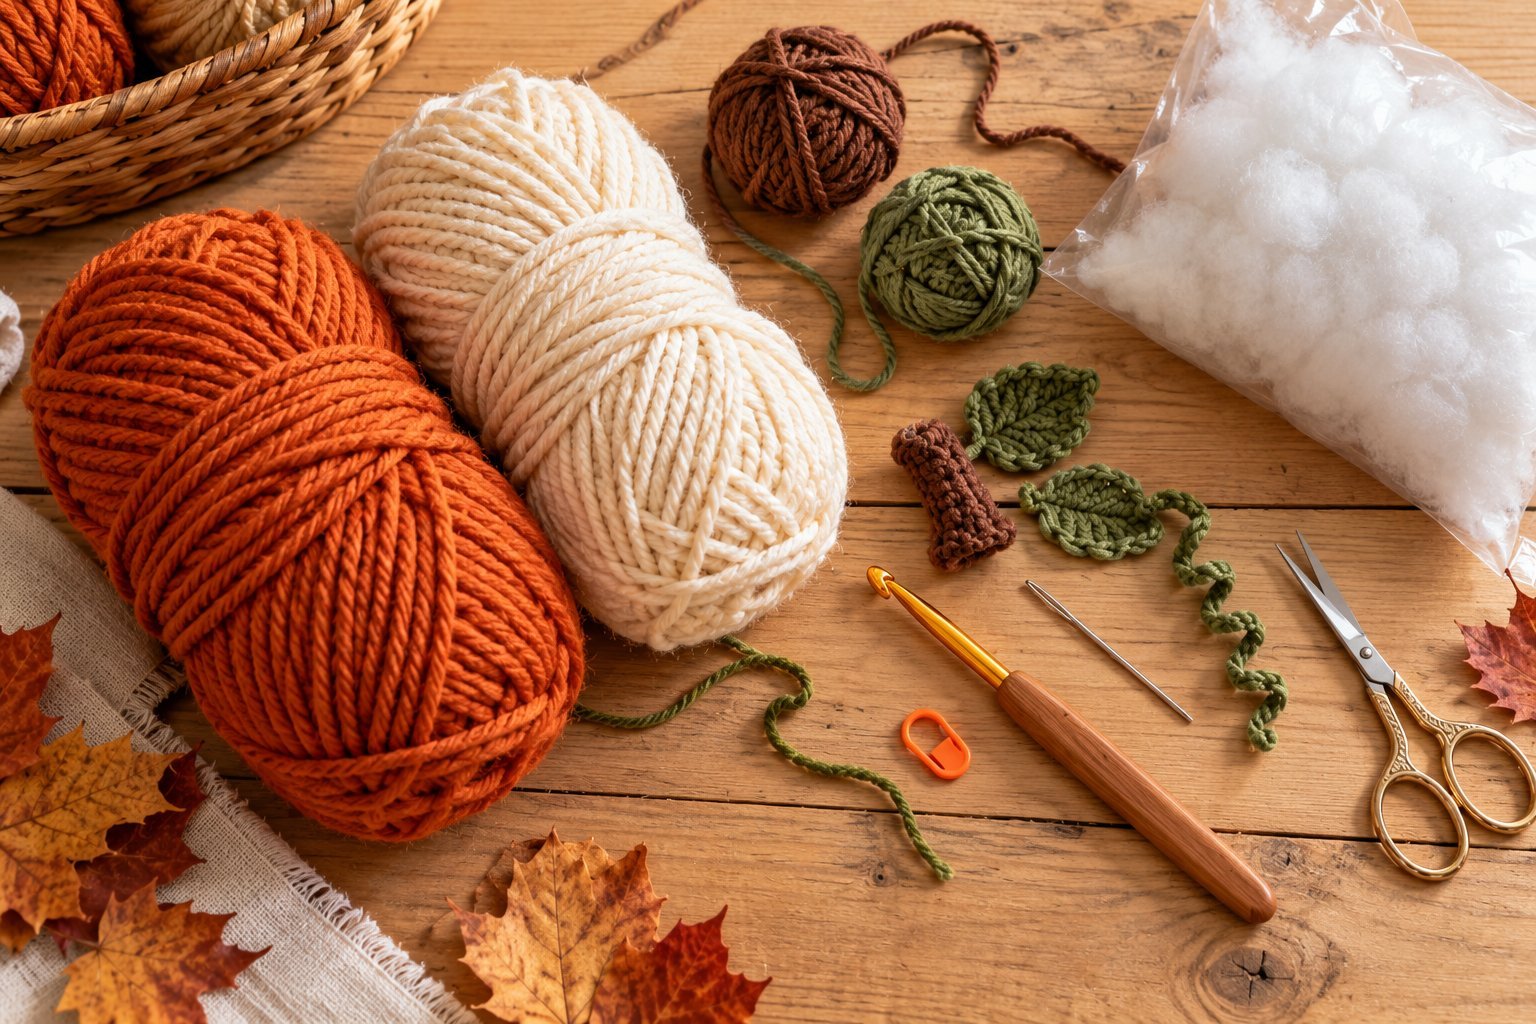
- Yarn: worsted weight (#4) yarn in orange, cream, sage, mustard or any color you like — about 25 yards for a mini, 60 yards for a medium and 110 yards for a large pumpkin. Chunky chenille or velvet yarn (#5–#6) also looks amazing — see the variations below. (Not sure about weights? Check the Craft Yarn Council yarn weight chart.)
- Brown yarn for the stem and green yarn for the leaf (small scraps are enough).
- Crochet hook: 5.0 mm (H-8) for worsted yarn.
- Polyester fiberfill stuffing.
- Yarn needle (tapestry needle) and scissors.
- Optional: stitch marker, a long doll needle for shaping.
Abbreviations (US Terms)
- ch – chain
- sl st – slip stitch
- sc – single crochet
- hdc – half double crochet
- dc – double crochet
- BLO – back loop only
- MR – magic ring
- st(s) – stitch(es)
Gauge: gauge is not critical for this project. If your pumpkin comes out bigger or smaller, it will still look great — it’ll just be a different size!
Sizes at a Glance
| Size | Starting chain | Number of rows | Finished size (approx.) | Time |
|---|---|---|---|---|
| Mini | Ch 16 | 24 rows | 3 in / 7.5 cm wide | ~20 min |
| Medium | Ch 26 | 34 rows | 5 in / 12.5 cm wide | ~45–60 min |
| Large | Ch 36 | 44 rows | 7 in / 18 cm wide | ~1.5 hours |
Free Crochet Pumpkin Pattern: Step by Step
Step 1: Crochet the Ribbed Rectangle
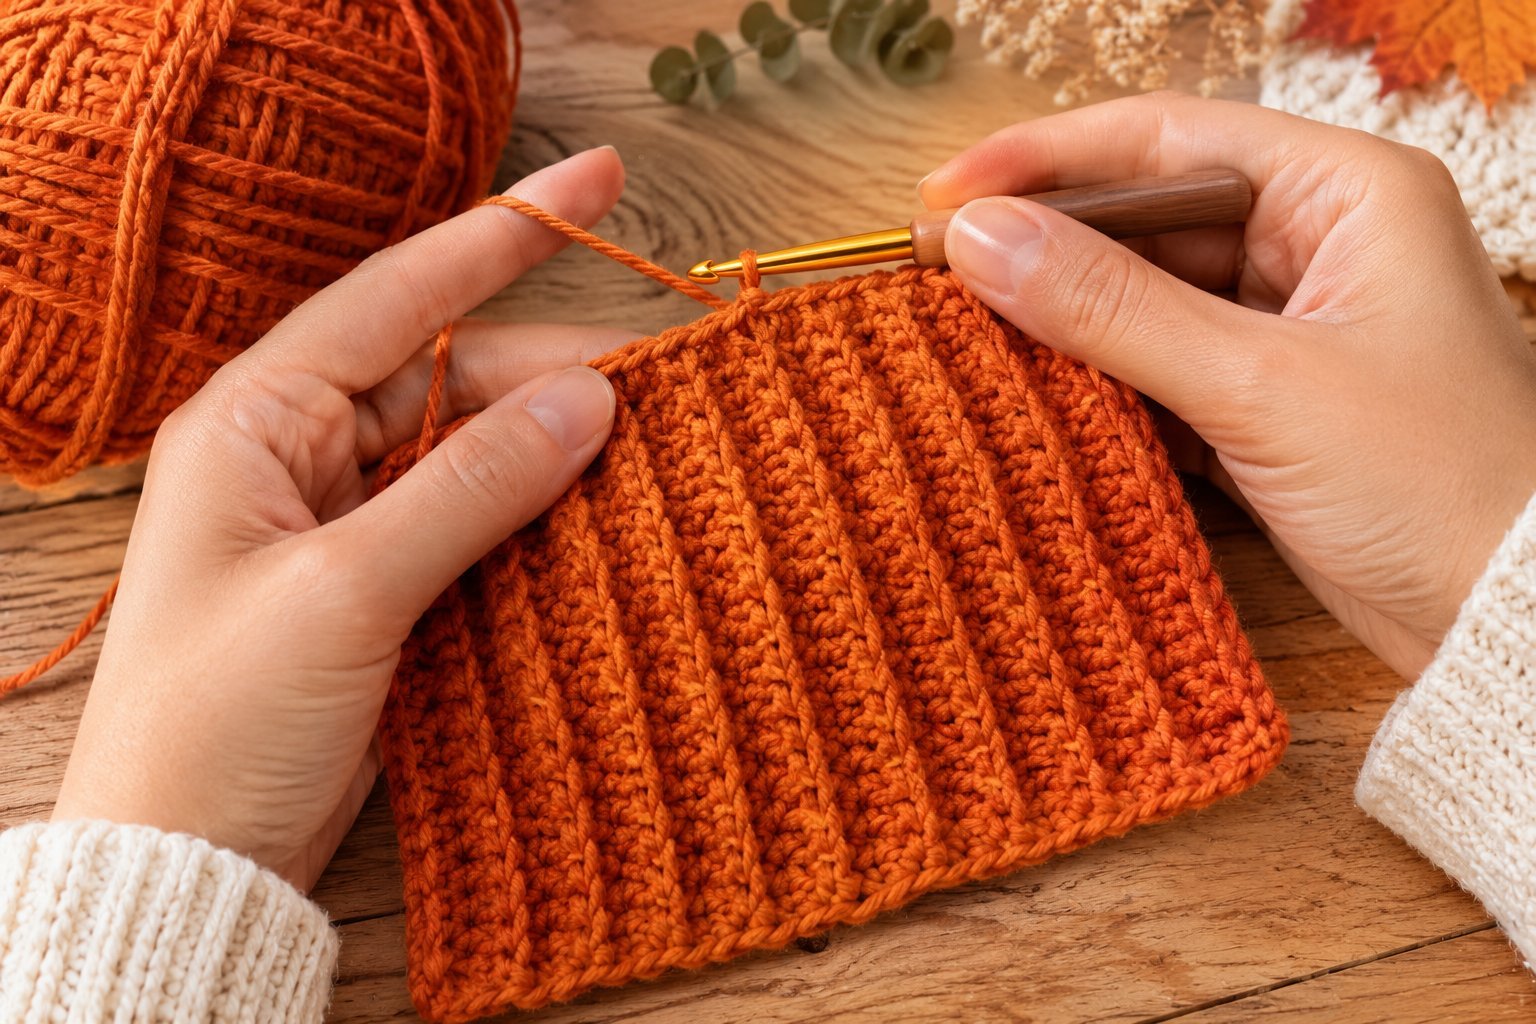
The ribbed rectangle becomes the body of the pumpkin. Working in the back loop only creates those lovely vertical “pumpkin ridges.”
Foundation: Ch 26 (medium size — see the table above for mini and large).
Row 1: Hdc in the 2nd ch from the hook and in each ch across. Ch 1, turn. (25 hdc)
Row 2: Hdc in BLO of each st across. Ch 1, turn. (25 hdc)
Rows 3–34: Repeat Row 2.
Your piece should now be a ribbed rectangle that, when gently stretched, is roughly twice as long as it is wide. Don’t fasten off yet — leave the working loop on your hook.
Step 2: Join the Short Edges into a Tube
Fold the rectangle in half so the starting chain lines up with the last row. Slip stitch the two short edges together through both layers, working across the whole width. Fasten off, leaving a long tail (about 20 in / 50 cm) — you’ll use it for shaping.
Tip: Slip stitching on the wrong side gives an invisible seam. Turn the tube right side out when you’re done.
Step 3: Close the Bottom
Thread a separate piece of yarn on your needle and weave it in and out along the ends of the rows on one open edge of the tube (like a drawstring). Pull tight to cinch the hole closed, knot securely and weave in the ends.
Step 4: Stuff and Close the Top
Stuff the pumpkin firmly with fiberfill — a slightly over-stuffed pumpkin gives the best round shape. Using the long tail, weave in and out along the top edge, then pull tight to close. Don’t cut the yarn yet.
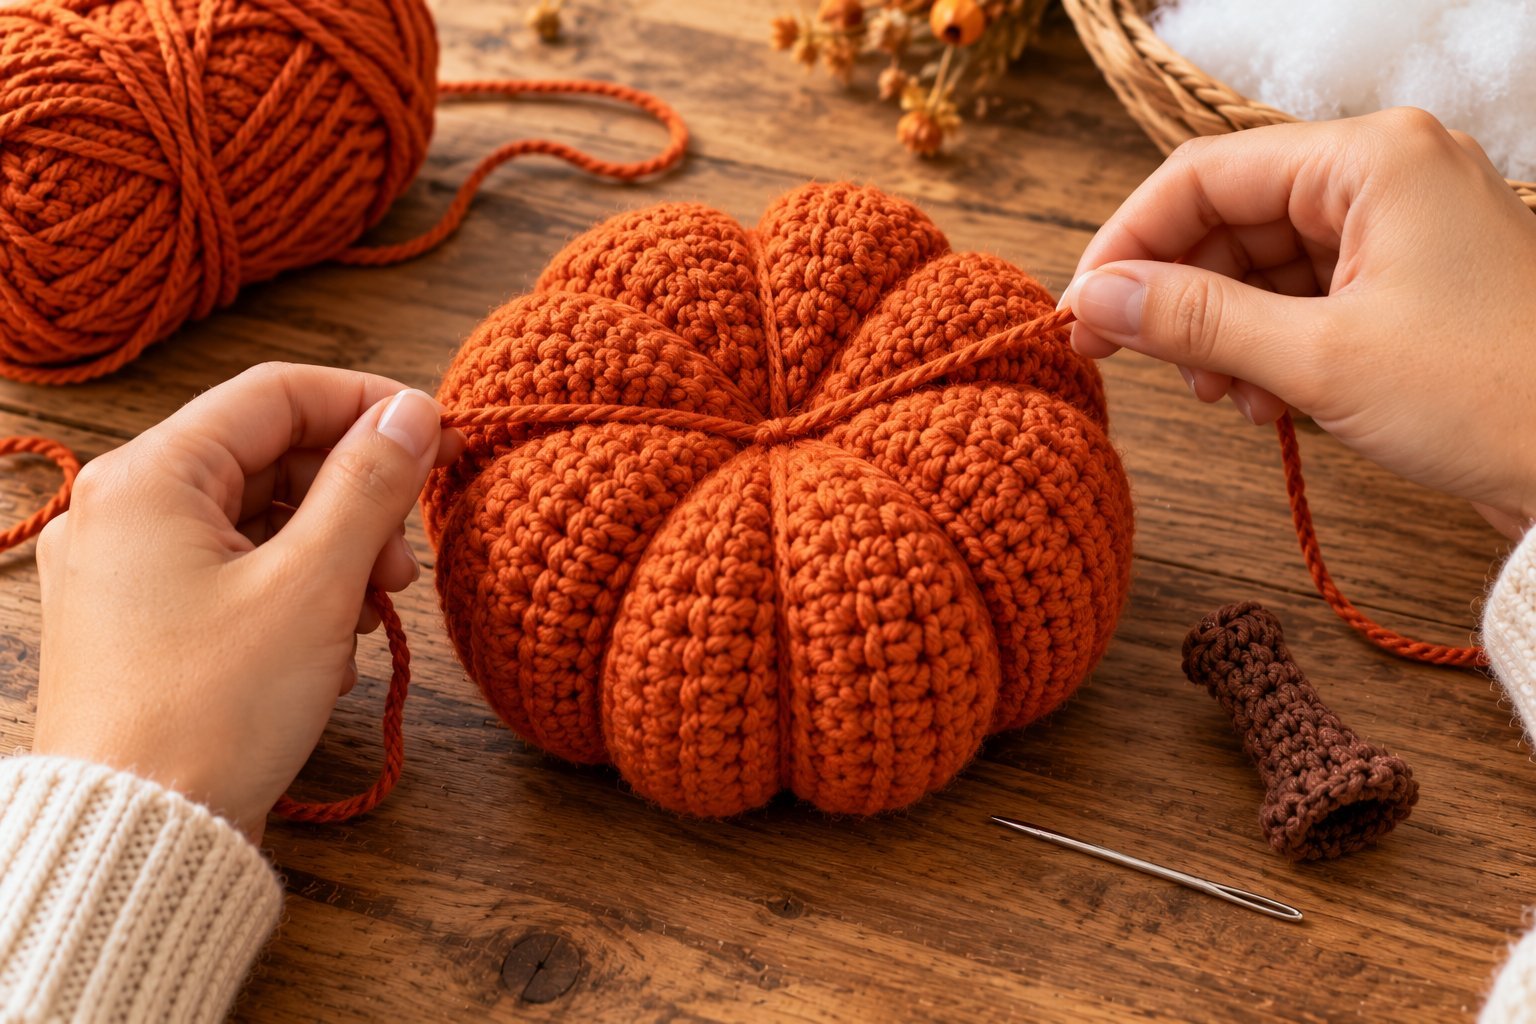
Step 5: Shape the Pumpkin Segments
This is where the magic happens! Insert your needle down through the center top of the pumpkin and out through the center bottom. Wrap the yarn around the outside of the pumpkin and go back down through the center again, pulling firmly so the yarn sinks into the ribbing. Repeat 5 to 6 times, spacing the wraps evenly to create the classic pumpkin segments. Knot at the top and hide the tail inside the body.
Step 6: Crochet the Stem
With brown yarn:
Round 1: 6 sc in a MR. (6 sts)
Round 2: Sc in BLO of each st around. (6 sts)
Rounds 3–5: Sc in each st around. (6 sts)
Fasten off with a long tail. Stuff lightly (or leave unstuffed for a floppy stem) and sew it to the top center of the pumpkin. For a curly stem, make it 2–3 rounds longer and bend it slightly as you sew.
Step 7: Crochet the Leaf (Optional)
With green yarn: Ch 8. Sl st in 2nd ch from hook, sc in next ch, hdc in next ch, dc in next 2 ch, hdc in next ch, sc in last ch. Fasten off and sew the leaf next to the stem. Add a curly tendril by chaining 15 and working 2 sc in each chain back down.
Easy Variations to Try
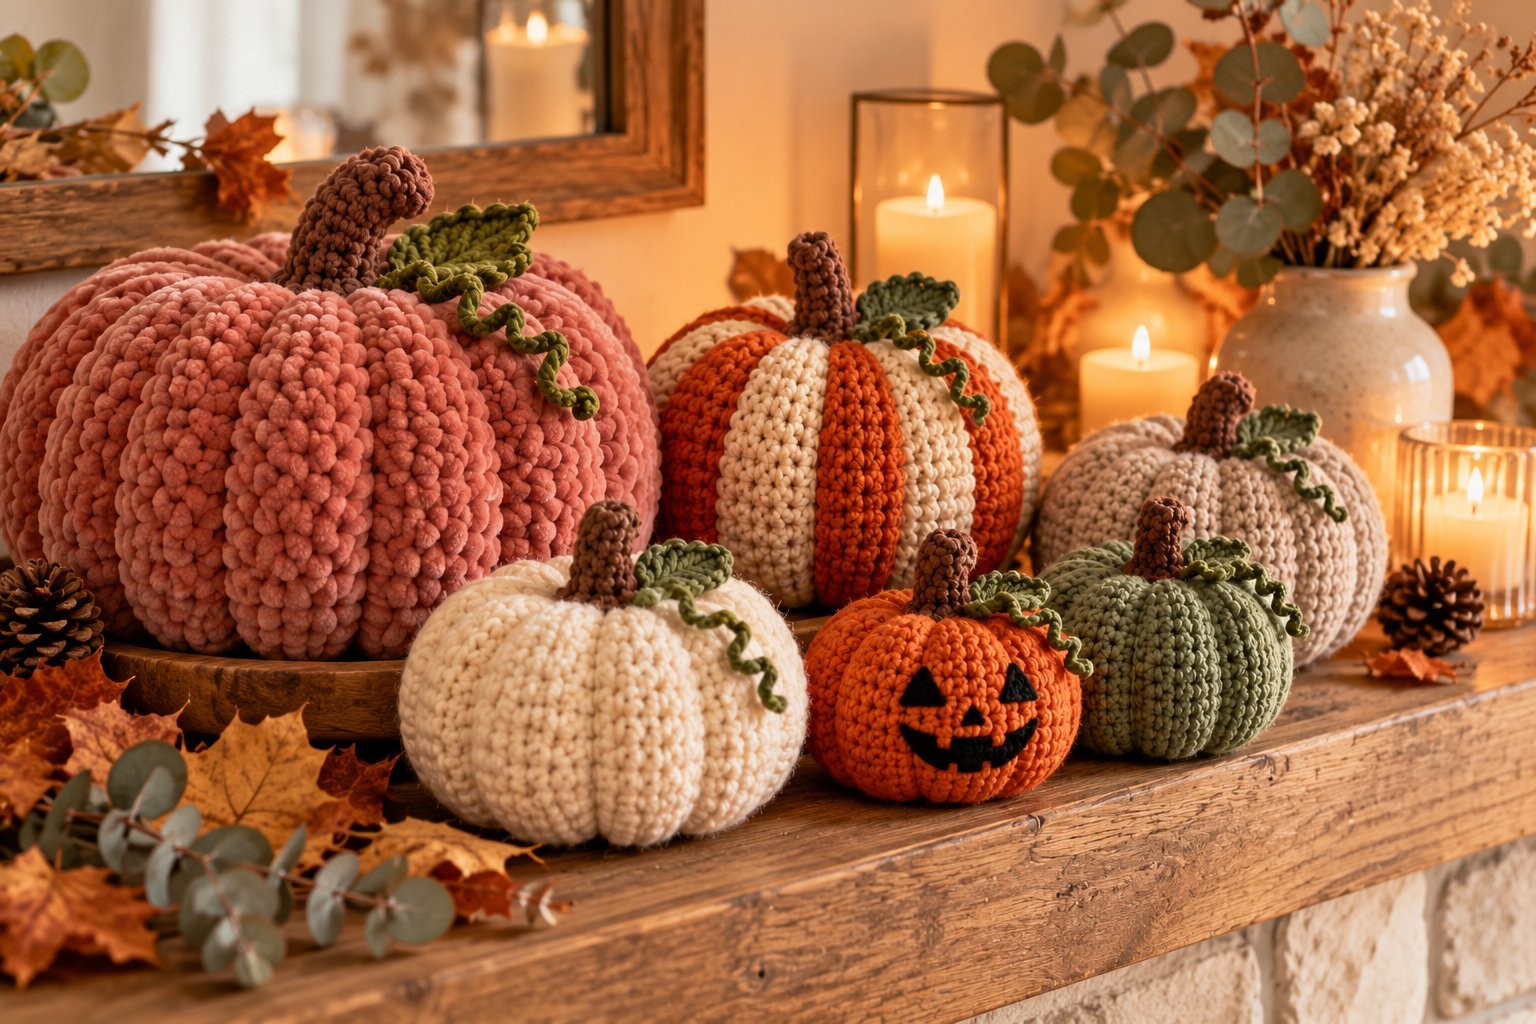
- Chunky velvet pumpkins: use a #6 super bulky chenille or velvet yarn with an 8 mm hook. Work Ch 16 and about 20 rows for a big, plush pumpkin that looks luxurious and is one of the hottest fall decor trends this year.
- Striped pumpkins: change colors every 4 rows for a modern, Scandinavian look.
- Neutral farmhouse set: crochet a trio in cream, oatmeal and sage instead of classic orange.
- Jack-o’-lantern: embroider simple triangle eyes and a zig-zag smile with black yarn for Halloween.
- Pumpkin coasters or keychains: make the mini size, skip the stuffing and flatten it, or attach a key ring to the stem.
Tips for the Perfect Crochet Pumpkin
- Always work in the back loop only. That’s what creates the deep ribbing that looks like real pumpkin ridges.
- Count your rows, not your inches. Everyone crochets with a different tension, so the row count keeps your pumpkins consistent.
- Use a sturdy yarn for shaping. Cotton or acrylic holds up better than soft chenille when you pull it tight for the segments.
- Stuff more than you think. Under-stuffed pumpkins look flat after cinching.
- Make a family. Pumpkins look best in groups of three or five in different sizes and colors.
How to Use Your Crochet Pumpkins
- Fall table centerpiece with candles and dried leaves
- Mantel or bookshelf decor
- Thanksgiving place-card holders (mini size)
- Teacher, neighbor or hostess gifts
- Craft-fair and Etsy best-sellers — they’re cheap to make and sell well every autumn
Found a mistake or stuck on a step? We check every stitch count carefully, but crochet is personal and tension varies. If something doesn’t work out for you, tell us here — we read every message and update our patterns.
Frequently Asked Questions
Is this crochet pumpkin pattern good for beginners?
Yes! If you can chain and make a half double crochet, you can make this pumpkin. The body is worked flat in rows, so there’s no tricky working in the round.
What is the best yarn for crochet pumpkins?
Worsted weight acrylic or cotton is easiest for beginners and holds its shape well. For a trendy, plush look, try a super bulky velvet or chenille yarn.
How long does it take to crochet a pumpkin?
About 20 minutes for a mini pumpkin, 45–60 minutes for a medium one and around 1.5 hours for a large pumpkin.
Can I crochet a pumpkin without sewing?
Almost! You’ll need a needle to cinch the ends and shape the segments, but there are no separate pieces to assemble except the optional stem and leaf.
Can I sell pumpkins made from this pattern?
Absolutely — you’re welcome to sell the finished pumpkins you make. We just ask that you don’t republish the written pattern itself, and a link back to Crochet Talks is always appreciated!
Final Thoughts
This free crochet pumpkin pattern is the perfect quick project to get into the fall spirit. Start with a mini to learn the technique, then crochet a whole patch in different sizes, colors and textures. Bookmark this page, pin it for later, and keep the fall fun going with our crochet spider web pattern and ghost amigurumi. New to crochet? Start with our beginner crochet guide. Happy hooking! 🧶🎃
Leave a Reply