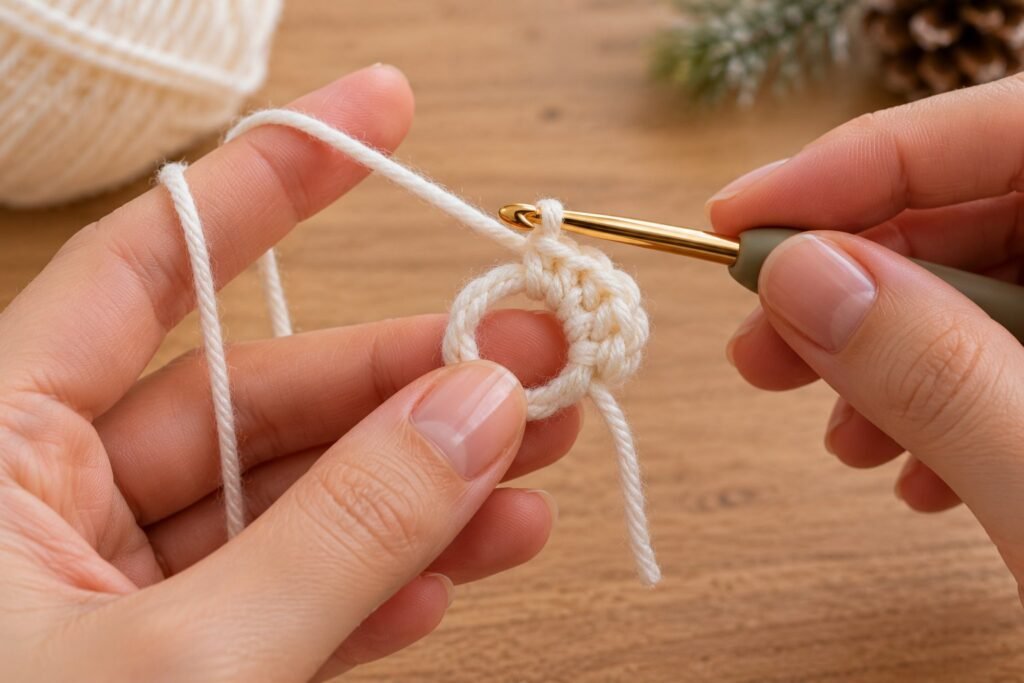
The magic ring (also called the magic circle or adjustable ring) is the secret behind neat amigurumi and tight round motifs. Instead of a hole in the middle, it lets you pull the center completely closed. If you’ve ever been confused by “6 sc in a magic ring”, this step-by-step tutorial will show you exactly how to crochet a magic ring — plus an easy alternative if it just won’t click yet.
What Is a Magic Ring?
A magic ring is an adjustable loop of yarn that you crochet your first round of stitches into. When you pull the tail, the loop shrinks and closes the center tightly. It’s used to start:
- Amigurumi (toys, balls, heads, bodies)
- Hats worked from the top down
- Round coasters, flowers and motifs
- Granny squares with a closed center
What You Need
- Smooth, light-colored worsted yarn (easier to see while learning)
- A crochet hook that matches your yarn — try 4.0–5.0 mm
- Scissors and a yarn needle
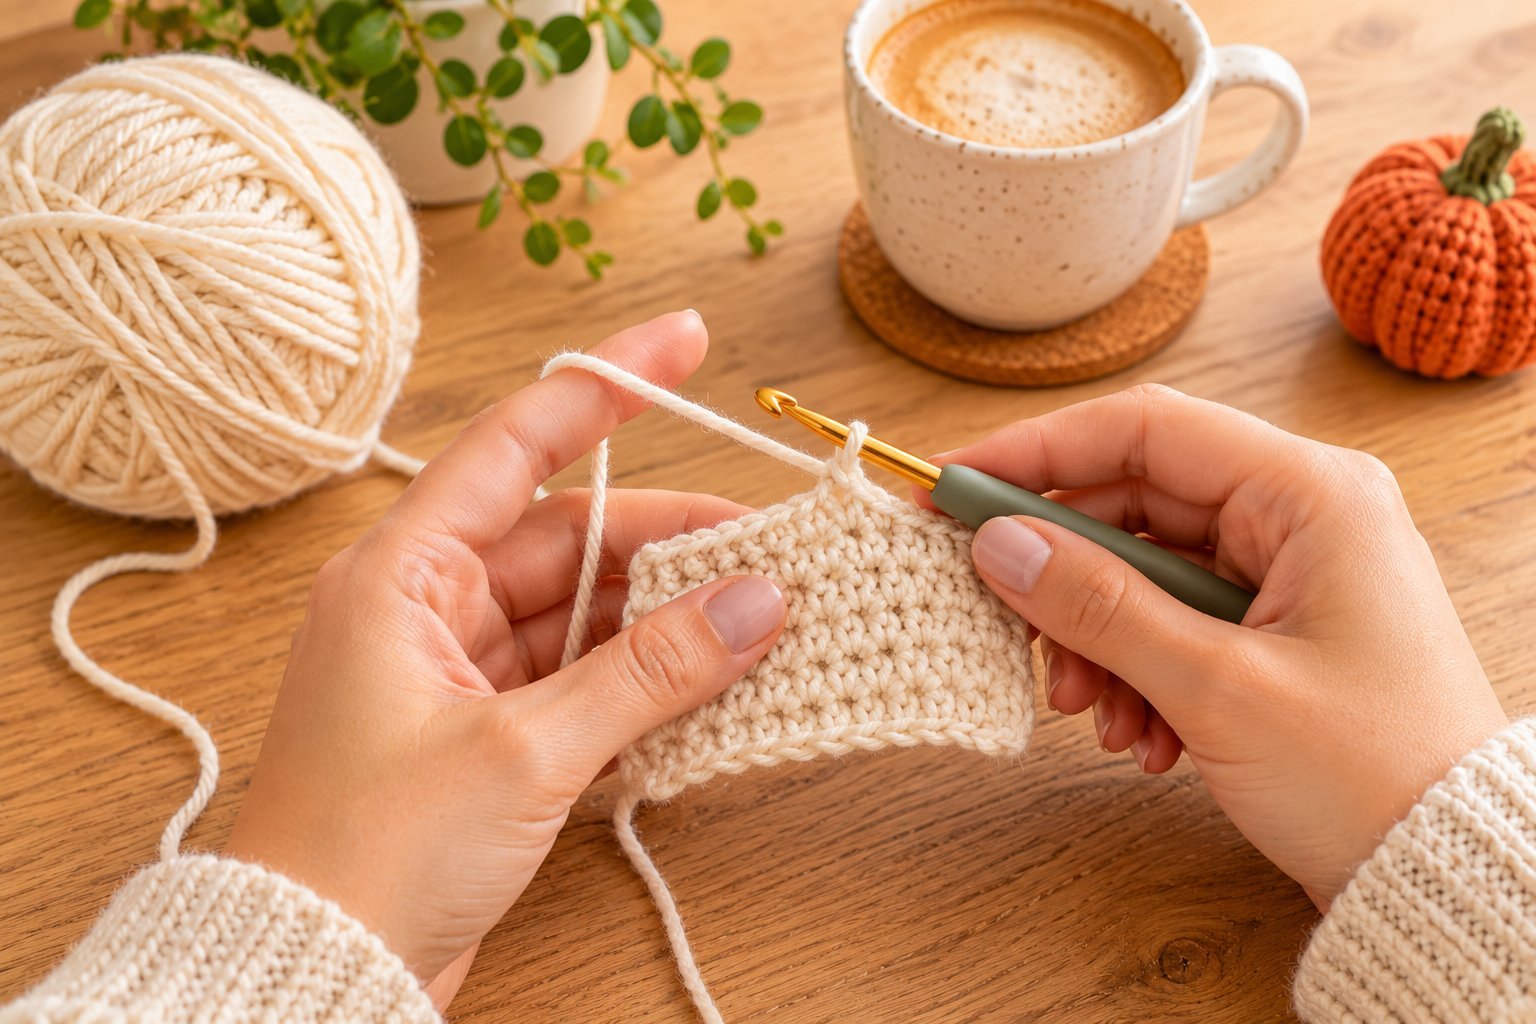
How to Crochet a Magic Ring: Step by Step
- Make a loop: lay the yarn tail across your palm, wrap the working yarn (the side attached to the ball) around two fingers so it crosses over the tail, making an “X” on the front of your fingers.
- Insert the hook: slide the hook under both strands of the loop on your fingers, from front to back.
- Pull up a loop: catch the working yarn and pull it through under the loop. You now have one loop on your hook.
- Chain 1: yarn over and pull through the loop on your hook. This chain secures the ring (it does not count as a stitch).
- Work your stitches into the ring: insert the hook into the center of the ring (under both strands of the loop and the tail), yarn over, pull up a loop, yarn over and pull through both loops — that’s one single crochet. Repeat until you have the number of stitches your pattern asks for (usually 6 sc for amigurumi).
- Pull the tail: gently pull the yarn tail to close the ring completely. If it doesn’t slide, tug the loop strand that moves first, then pull the tail again.
- Continue: for amigurumi, place a stitch marker and keep going in spiral rounds. For joined rounds, slip stitch into the first stitch.
How to Keep the Magic Ring From Opening
- Weave the tail in several directions through the first round — up, down and back again.
- For amigurumi, pull the tail to the inside before stuffing.
- Use a “double loop” magic ring (wrap the yarn around your fingers twice) for slippery yarn like cotton or chenille — it’s much more secure.
- Avoid very slippery yarns while learning.
Easy Alternative: The Chain-2 Method
If the magic ring feels fiddly, try this beginner-friendly alternative: chain 2, then work all of your first-round stitches into the 2nd chain from the hook. The center won’t close quite as tightly, but it’s close — and perfectly fine for most projects.
Common Problems and Fixes
| Problem | Fix |
|---|---|
| The ring won’t close | You worked over only one strand. Make sure every stitch goes over both the loop and the tail. |
| The ring falls apart | You forgot the ch 1 to secure it, or the tail wasn’t woven in well. |
| Wrong stitch count | The chain 1 doesn’t count. Count only the stitches worked into the ring. |
| A hole appears later | Weave the tail in more directions or use the double-loop magic ring. |
Practice Projects That Start With a Magic Ring
- Easy crochet ghost amigurumi
- Crochet snowman amigurumi
- Granny square (start with a magic ring instead of a chain ring)
- The stem of our free crochet pumpkin pattern
Found a mistake or stuck on a step? We check every stitch count carefully, but crochet is personal and tension varies. If something doesn’t work out for you, tell us here — we read every message and update our patterns.
Frequently Asked Questions
Is a magic ring the same as a magic circle?
Yes — magic ring, magic circle, magic loop and adjustable ring all describe the same technique.
Can I use a magic ring with double crochet?
Yes. Chain 3 instead of chain 1 (it usually counts as the first dc), then work your double crochets into the ring.
Why do patterns use a magic ring for amigurumi?
Because it leaves no hole at the center, so stuffing can’t peek through and the shape looks smooth and professional.
I’m completely new — where should I start?
Learn the basic stitches first in our how to crochet for beginners guide, then come back to practice the magic ring.
Final Thoughts
The magic ring takes a few tries to master, but once it clicks you’ll use it in almost every round project. Practice it five times in a row with a light yarn, then try a quick amigurumi like our ghost or snowman. Happy hooking!


Leave a Reply