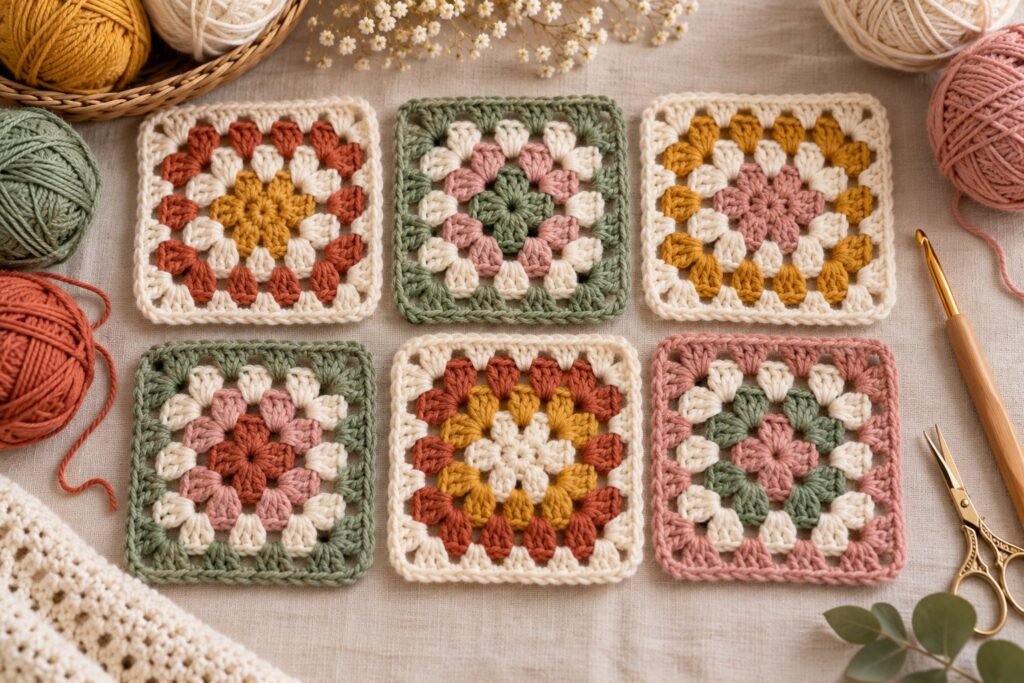
The granny square is the most famous crochet motif in the world — and for good reason. It’s quick, it uses up leftover yarn, and once you know how to crochet a granny square you can turn it into blankets, cardigans, bags, pillows and the trendy patchwork pieces you see everywhere right now. This step-by-step tutorial shows you exactly how to make a classic granny square, even if you’re a beginner.
Pattern Overview
- Skill level: Beginner (you should know chain, slip stitch and double crochet)
- Finished size: about 4 in / 10 cm after 4 rounds with worsted yarn
- Time: 15–20 minutes per square
- Terms: US crochet terms
Materials
- Worsted weight #4 yarn in 1–4 colors (acrylic or cotton)
- 5.0 mm (H-8) crochet hook
- Yarn needle and scissors
Abbreviations (US Terms)
- ch – chain
- sl st – slip stitch
- dc – double crochet
- sp – space
- cluster – a group of 3 dc worked into the same space
How a Granny Square Works
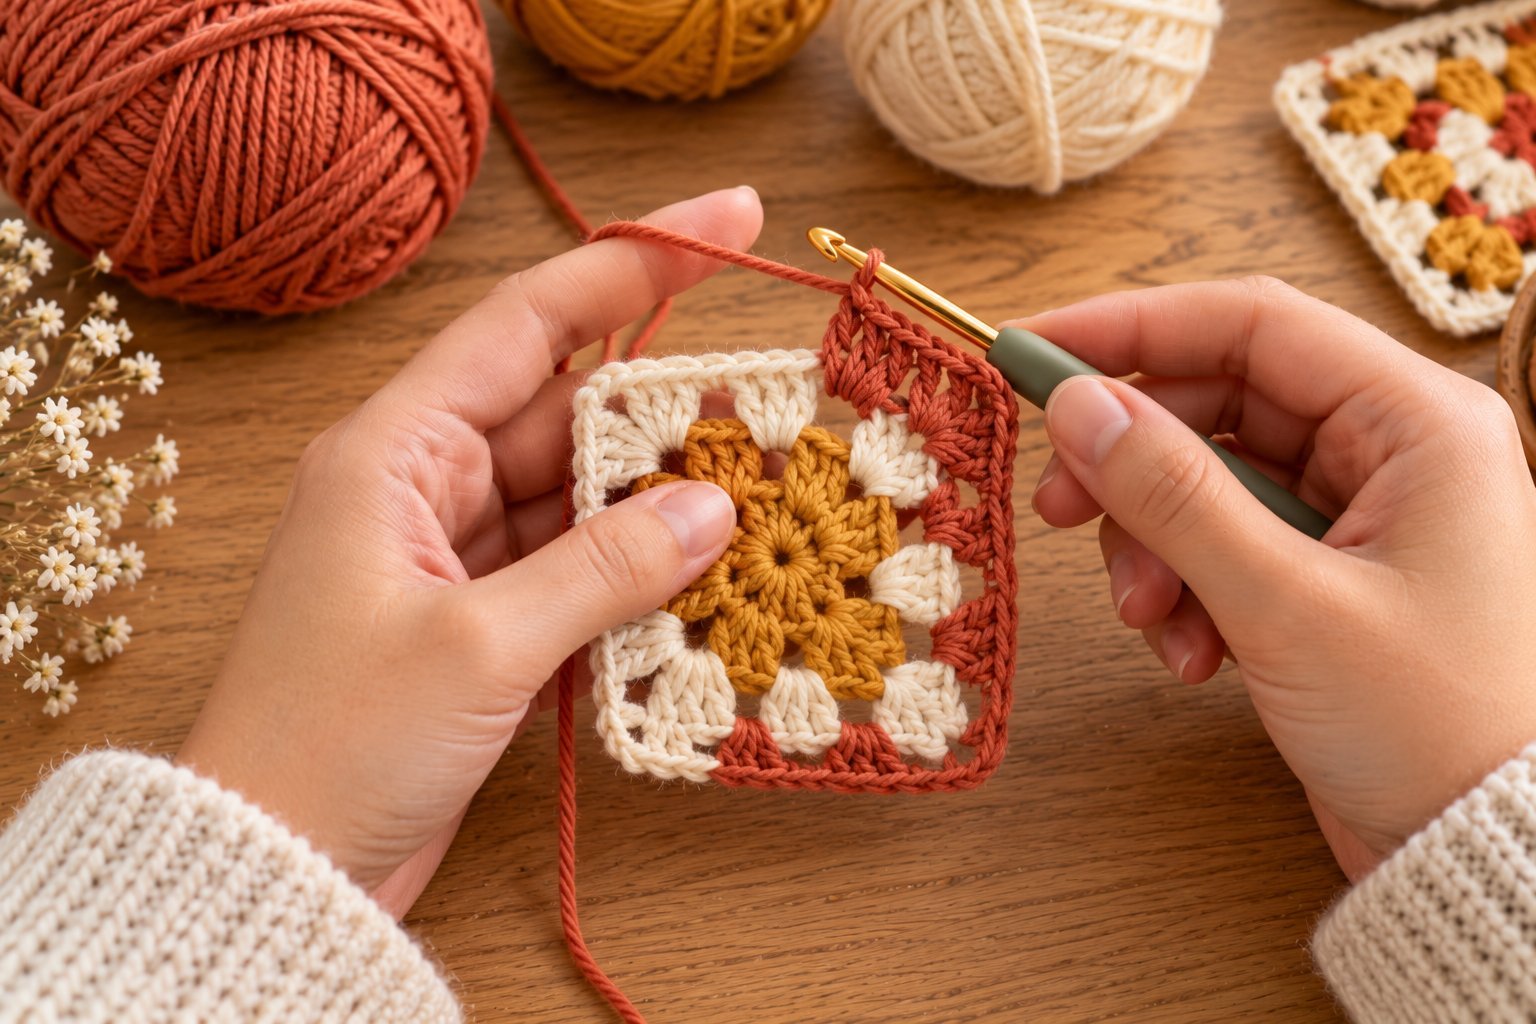
A granny square is made of clusters of 3 double crochets. You never work into the tops of stitches — you always work into the spaces between clusters, which makes it very forgiving. The corners are made with (3 dc, ch 2, 3 dc) in the same corner space, and the sides get one cluster more every round.
How to Crochet a Granny Square: Step by Step
Start: Ch 4 and sl st to the first ch to form a ring (or use a magic ring for a tighter center).
Round 1: Ch 3 (counts as first dc), 2 dc into the ring, ch 2. [3 dc into the ring, ch 2] 3 times. Sl st to the top of the beginning ch-3 to join. (4 clusters and 4 ch-2 corner spaces)
Round 2: Sl st in the next 2 dc and into the next ch-2 corner space. Ch 3 (counts as dc), (2 dc, ch 2, 3 dc) in the same corner space, ch 1. [(3 dc, ch 2, 3 dc) in the next corner space, ch 1] 3 times. Sl st to the top of the beginning ch-3. (8 clusters)
Round 3: Sl st in the next 2 dc and into the corner space. Ch 3, (2 dc, ch 2, 3 dc) in the same corner space, ch 1, 3 dc in the next ch-1 space, ch 1. [(3 dc, ch 2, 3 dc) in the next corner space, ch 1, 3 dc in the next ch-1 space, ch 1] 3 times. Sl st to the top of the beginning ch-3. (12 clusters)
Round 4: Sl st in the next 2 dc and into the corner space. Ch 3, (2 dc, ch 2, 3 dc) in the same corner space, ch 1, [3 dc in the next ch-1 space, ch 1] across the side. *(3 dc, ch 2, 3 dc) in the next corner space, ch 1, [3 dc in the next ch-1 space, ch 1] across the side*; repeat from * to * 2 more times. Sl st to join. (16 clusters)
Keep going: repeat Round 4 for as many rounds as you like. Every round adds one cluster to each side. Fasten off and weave in the ends.
How to Change Colors
To make a classic multicolor granny square, finish a round, fasten off and join the new color directly in a corner space: put a slip knot on your hook, insert it into the corner space, pull up a loop and continue with “ch 3, (2 dc, ch 2, 3 dc)…”. Weave in the ends as you go — or crochet over them — so you don’t face a mountain of tails at the end.
Tips for Perfect Granny Squares
- Keep the corners at ch 2. Fewer chains make the square cup; more chains make the corners floppy.
- Turn your work between rounds (optional) to stop the square from twisting slightly — many crocheters swear by it.
- Use the same yarn brand and weight for all squares in one project so they come out the same size.
- Block your squares: pin them to size, mist with water and let dry. They’ll join together much more neatly.
- Count clusters, not stitches: each side should have (round number) clusters.
How to Join Granny Squares
- Whip stitch: place squares right sides together and sew through the back loops with a yarn needle — invisible and flat.
- Slip stitch join: crochet the edges together with slip stitches for a sturdy, slightly raised seam.
- Join-as-you-go: attach each new square to its neighbor during the last round — no sewing at the end!
What to Make With Granny Squares
- A classic granny square blanket or baby blanket
- Trendy patchwork cardigans and vests
- Tote bags and market bags
- Pillow covers and coasters (one square = one coaster!)
- Christmas versions in red, green and white — perfect next to our crochet Christmas tree ornaments
Found a mistake or stuck on a step? We check every stitch count carefully, but crochet is personal and tension varies. If something doesn’t work out for you, tell us here — we read every message and update our patterns.
Frequently Asked Questions
Is a granny square good for beginners?
Yes! It uses only chains, slip stitches and double crochet, and you work into spaces rather than stitches. If you’re brand new, start with our beginner crochet guide first.
Why is my granny square wavy or cupping?
Wavy squares usually have too many chains between clusters; cupping squares have too few, or tight tension. Stick to ch 2 at corners and ch 1 on the sides, and relax your grip.
How many granny squares do I need for a blanket?
For a throw blanket of about 50 × 60 in using 6 in squares, you’ll need roughly 80 squares (8 × 10). Make fewer, bigger squares to finish faster.
What yarn is best for granny squares?
Smooth worsted acrylic is affordable and easy; cotton gives crisp stitch definition. See our guide to the best yarn for beginner crochet.
Final Thoughts
Once you know how to crochet a granny square, a whole world of projects opens up. Make a few in your favorite colors this week, practice changing colors and joining, and you’ll be ready for your first granny square blanket. Happy hooking!
Leave a Reply