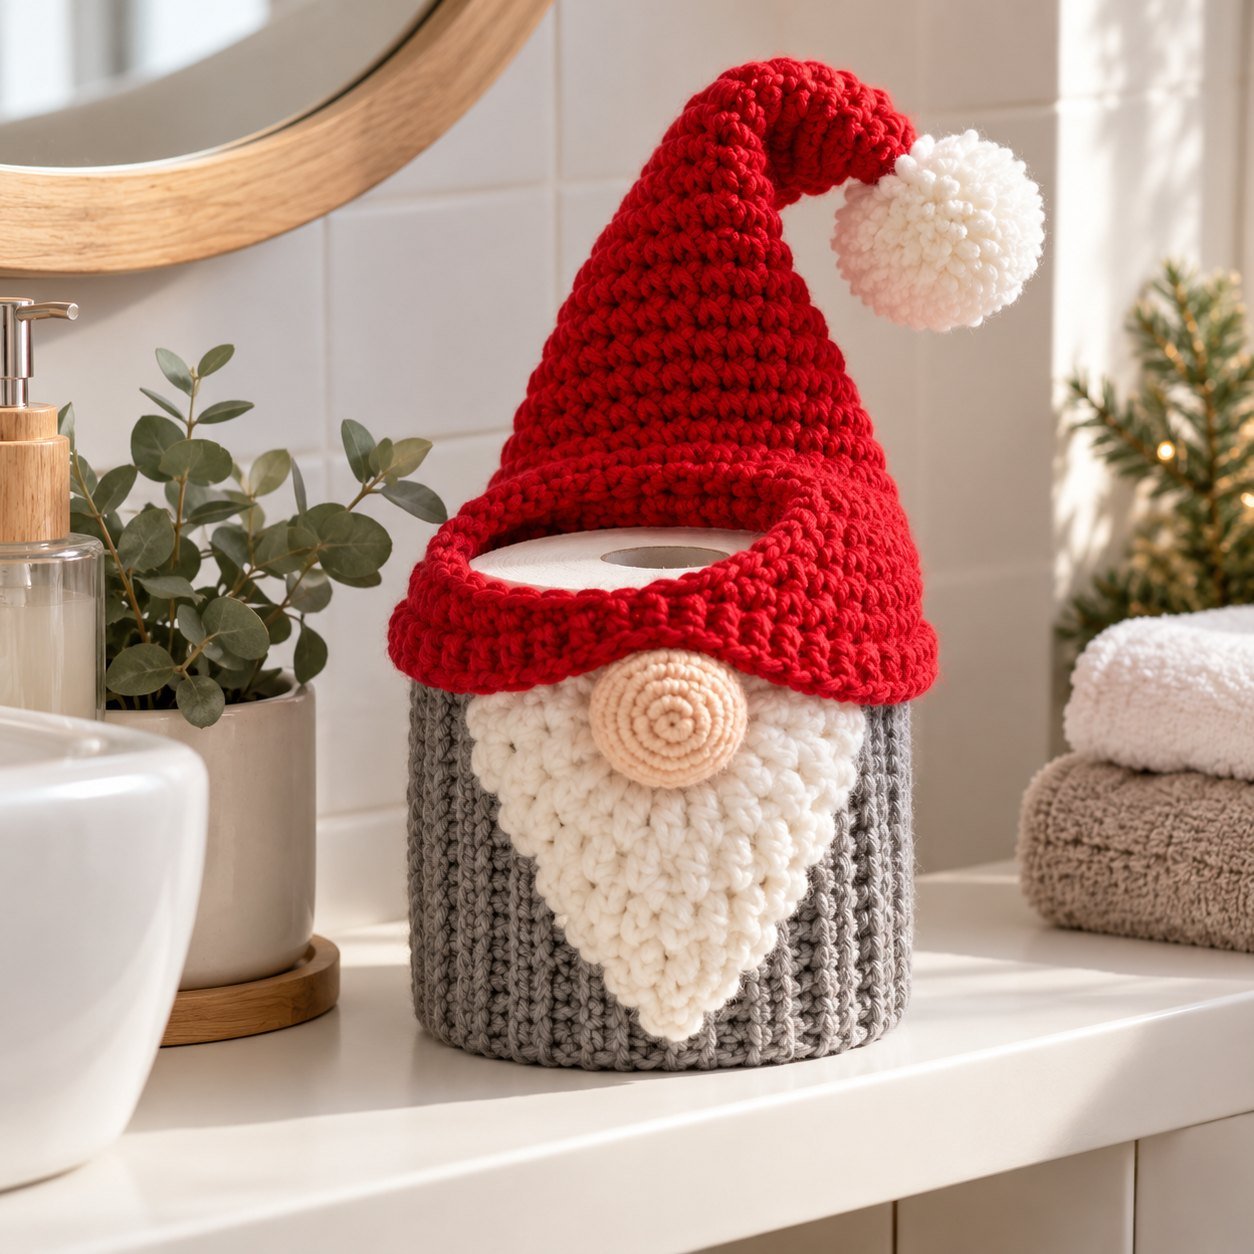
Gnomes are the stars of Christmas crochet this year, and the best way to start is small. In this free crochet gnome pattern you’ll make a mini gnome ornament in about an hour: a round body, a floppy cone hat, a little beard and a nose. Once you know these four pieces, you can make gnomes of any size — even a gnome that hides your spare toilet roll.
💡 Once you’ve finished this free project, you’ll find our full-size gnome toilet paper cover pattern at the end of the tutorial.
In this tutorial
What You Need
- Worsted weight (#4) acrylic yarn in gray, red, white and a skin tone (scraps are enough)
- 3.5 mm (E-4) hook
- A little fiberfill, a yarn needle, a stitch marker and scissors
Abbreviations (US terms): MR = magic ring, ch = chain, sl st = slip stitch, sc = single crochet, hdc = half double crochet, dc = double crochet, inc = 2 sc in the same stitch, dec = single crochet two together (invisible decrease recommended), BLO = back loop only. The number in brackets is the stitch count at the end of the round.
Free Pattern: Mini Gnome Ornament (about 3 in / 7.5 cm tall)
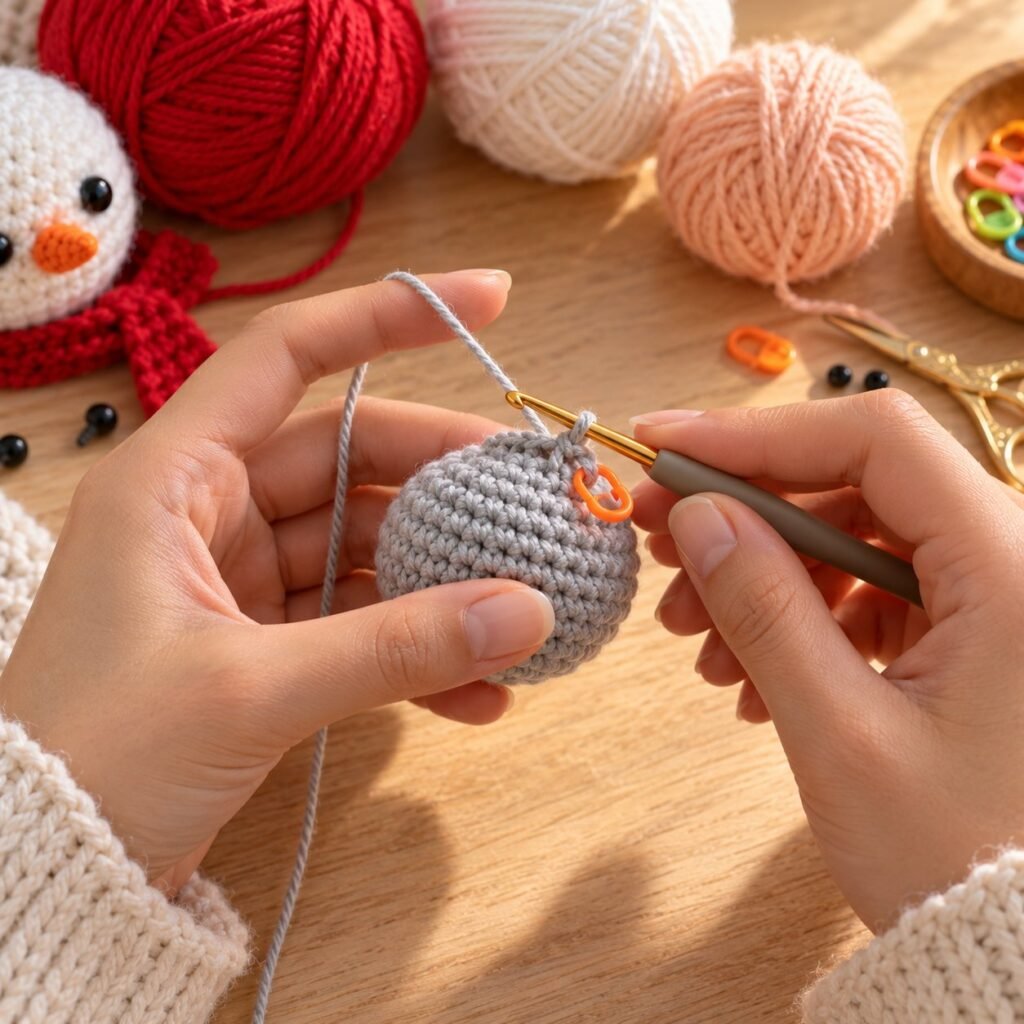
Body (gray)
Round 1: 6 sc in MR. (6)
Round 2: inc in each st around. (12)
Round 3: (sc, inc) x6. (18)
Rounds 4–6: sc in each st around. (18)
Round 7: (sc, dec) x6. Stuff firmly. (12)
Round 8: dec x6. Fasten off, close the hole and weave in. (6)
Hat (red)
The hat is a cone that grows slowly, which is what makes it tall and floppy.
Round 1: 4 sc in MR. (4)
Round 2: sc around. (4)
Round 3: (sc, inc) x2. (6)
Round 4: sc around. (6)
Round 5: (sc, inc) x3. (9)
Round 6: sc around. (9)
Round 7: (2 sc, inc) x3. (12)
Round 8: sc around. (12)
Round 9: (3 sc, inc) x3. (15)
Round 10: (4 sc, inc) x3. (18)
Round 11: sc around. Sl st, fasten off with a long tail. (18)
Beard (white, worked in rows)
Foundation: ch 7.
Row 1: sc in the 2nd ch from the hook and in each ch across. Ch 1, turn. (6)
Row 2: dec, 2 sc, dec. Ch 1, turn. (4)
Row 3: dec x2. Ch 1, turn. (2)
Row 4: dec. Fasten off. (1)
Nose (skin tone)
Round 1: 5 sc in MR, pull tight and sl st to close. Fasten off with a tail. (5)

Assembly
- Sew the beard to the front of the body, with the straight edge just below where the hat will sit.
- Sew the nose on top of the beard’s straight edge.
- Place the hat over the top of the body so it covers the eyes area, and sew around the brim.
- Bend the hat tip to one side and tack it with one stitch. Add a hanging loop to the top.

Free printable version
Prefer paper? Download this free tutorial as a printable PDF to keep next to your yarn.
Loved making this?
You've just made your first little gnome. Now imagine a full-size gnome guarding the spare roll in your bathroom — the funny detail every guest talks about at Christmas. Our Gnome Toilet Paper Cover pattern takes everything you learned today and scales it up, row by row, with stitch counts on every line.
Yes, I want to make it – $2Instant PDF download · stitch counts on every row · US terms
3 Ways to Make a Fluffier Beard
- Brushing: brush the finished beard gently with a clean pet slicker brush until the fibers bloom.
- Fringe: knot short strands of white yarn through the beard stitches, then trim into a V.
- Loop stitch: on wrong-side rows, wrap the yarn around your finger before finishing each sc — the loops appear on the front.
Common Mistakes (and Fixes)
- Hat too short: you increased too fast. Add plain rounds between increase rounds.
- Stuffing shows: go down a hook size or use the yarn-under method for tighter stitches.
- Wobbly gnome: push a small flat button or cardboard disk into the bottom before closing.
Turn It Into a Toilet Paper Cover
A gnome roll cover uses exactly the same idea at a bigger scale: the “body” becomes a stretchy ribbed tube that slips over the roll, the hat becomes a big cone that sits on top, and the beard is a larger triangle. Use acrylic yarn (it handles bathroom humidity) and measure your roll — many rolls are about 4.5 in tall and 14 in around.
Frequently Asked Questions
Can a beginner make this gnome?
Yes. If you can make a magic ring and single crochet, you can finish it in an evening. New to crochet? Start with our beginner crochet guide.
Can I make a bigger gnome?
Use bulky yarn and a 5 mm hook with the same pattern — it will be about 5 inches tall.
Want more? Try our standing gnome tips and browse seasonal crochet.
Happy hooking! 🧶 Ready for the next step? The Christmas Gnome Toilet Paper Cover pattern is just $2 — and every purchase helps us keep writing free tutorials like this one.


Leave a Reply